A Guide to Multi-Material 3D Printing: Getting Started
Every geek and maker can agree: 3D printing is a marvelous realm where ideas leap off screens and into tangible form. But have you ever pondered the magic behind multi-material 3D printing? This advanced technique takes the simplicity of single-material printing and bumps it up a notch, allowing you to create stunningly intricate designs, fully functional prototypes, and personalized items. If you’re curious about how to dive into this exciting world, you’re in the right place!
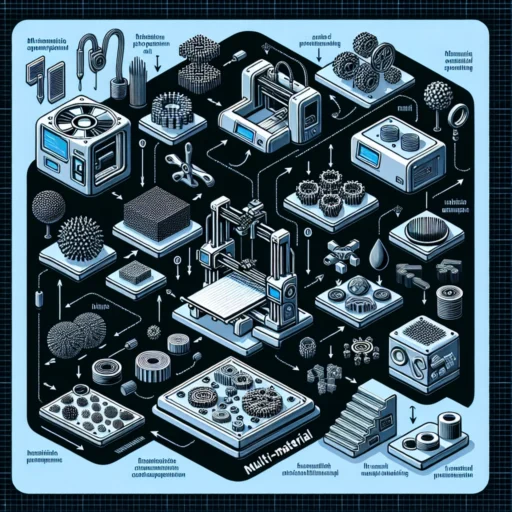
What is Multi-Material 3D Printing?
Before we dive into the details of how to get started, let’s break down what multi-material 3D printing actually means. Essentially, it refers to the capability to print with two or more different materials simultaneously. This could range from combining rigid and flexible materials to utilizing various colors or compositions for enhanced functionality. Picture a smartphone case with a soft, cushioned grip and a sleek, hard exterior – that’s the kind of application multi-material printing can facilitate!
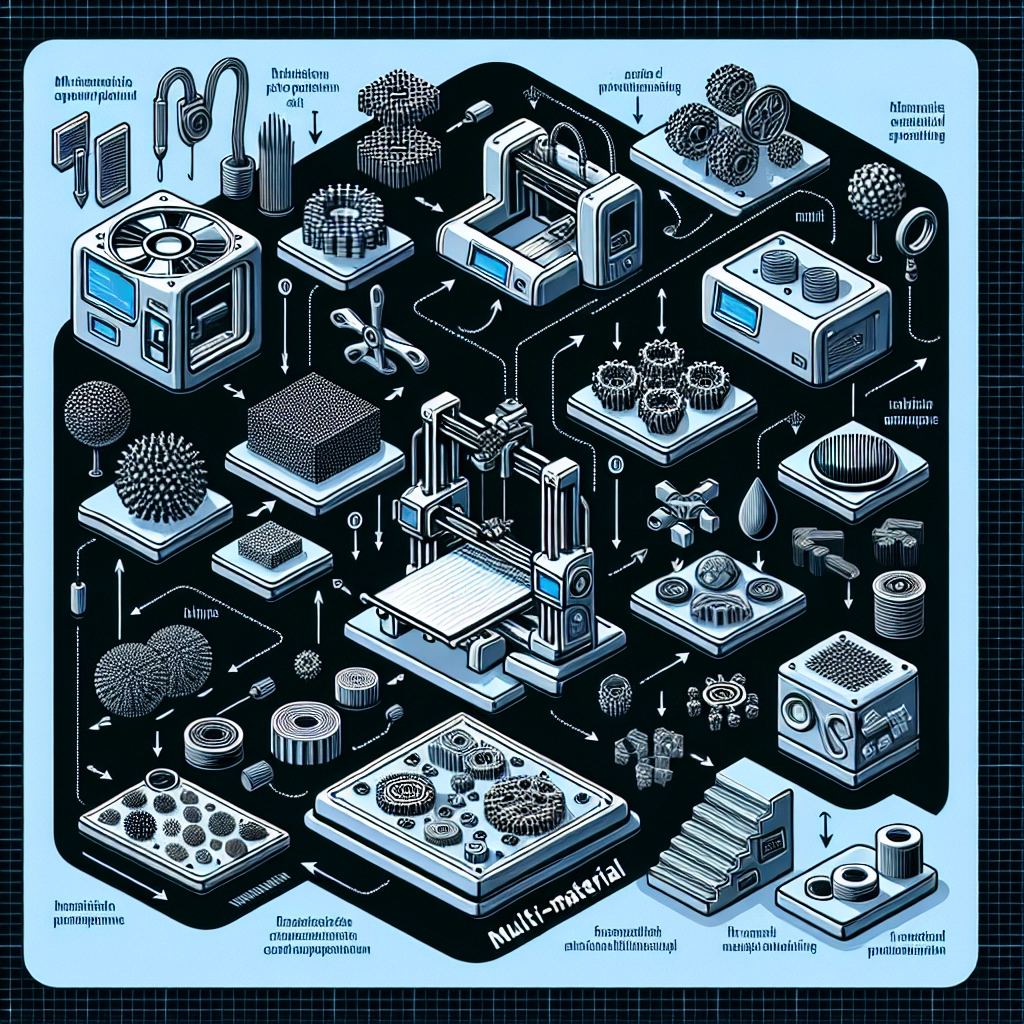
Types of Multi-Material Printing
There are several techniques used in multi-material 3D printing, each with its unique perks and quirks:
-
Fused Deposition Modeling (FDM): This is the most common method. It works by melting plastic filaments and laying them down layer by layer. With dual-extruder systems, you can work with two different filaments, allowing for the combination of stiff and flexible materials.
-
Stereolithography (SLA): In this method, liquid resin is cured layer by layer using a UV light. Some SLA printers can mix different resin formulations, offering a broader range of material properties.
-
Selective Laser Sintering (SLS): This technique involves using a laser to fuse powdered materials together. Different powders can be added in the same print job, giving you interesting color and texture combinations.
-
Binder Jetting: In this method, a binder ink is printed onto a powder bed, where it binds the powders into a solid part. You can use different powders with varying properties for creative freedom.
Understanding these techniques helps you choose the right approach based on your project needs and the printer capabilities.
Setting Up Your First Multi-Material Print
Once you’ve decided on your method, let’s walk through some steps to set up your first multi-material project:
Step 1: Choose the Right Printer
Not all 3D printers are created equal. Make sure to invest in a machine that supports multi-material capabilities. If you opt for an FDM printer, look for one with dual extruders. For SLA, check models that support multi-resin combinations. Do your research, read reviews, and ensure the printer fits your budget and project requirements.
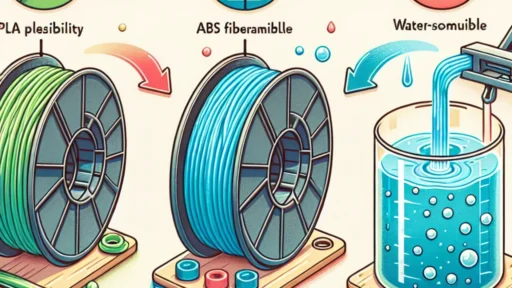
Step 2: Select Your Materials
Choosing the right materials is crucial. Depending on your project, you might want a combination of PLA (easy to work with), TPU (flexible), or PETG (durable). Take your time to explore the material properties, like tensile strength or flexibility, as this will impact the final product.
Step 3: Design Your Model
Now comes the fun part! Using CAD software, design your 3D model. Make sure to strategically place different materials where they will be most beneficial for functionality or aesthetics. Don’t hesitate to play around with colors, shapes, and structures—this is where your creativity can really shine.
Step 4: Prepare Your Print
Load your design into slicing software compatible with your printer, ensuring to set up the print settings correctly for both materials. This includes bed temperature, print speed, and layer heights. If you have a dual-extruder setup, align your print settings accordingly for both materials.
Step 5: Print and Post-Processing
Once everything is set, hit that "print" button! After printing, some may require a bit of clean-up work. This can involve removing support structures, sanding surfaces, or applying additional finishes to enhance aesthetics.
Tips for Success
-
Stay Patient: Multi-material printing can sometimes be tricky. Don’t be discouraged if your first attempts don’t turn out perfectly. It’s all part of the learning curve.
-
Experiment and Iterate: Don’t be afraid to experiment! Try different material pairings and designs. Each print is an opportunity to learn and improve.
-
Join a Community: Connect with other 3D printing enthusiasts online. Communities can offer support, share tips, and inspire you with their creative projects.
Embarking on your journey into multi-material 3D printing opens up an exciting new world of possibilities. Whether you want to optimize a product design, create a unique gift, or simply explore your creativity, this technique allows you to blend functionality with artistry in an amazing way. So, gather your materials, fire up your printer, and let your imagination run wild!