
Tips for Slicing Your 3D Models Like a Pro
3D printing has exploded in popularity recently, transforming the way we create, design, and build. However, before your dream object materializes, there’s a crucial step you can’t overlook: slicing! This step can feel daunting at first, but fear not – with a few pointers and tricks, you’ll be slicing your models like a pro in no time.
Understand Your Printer
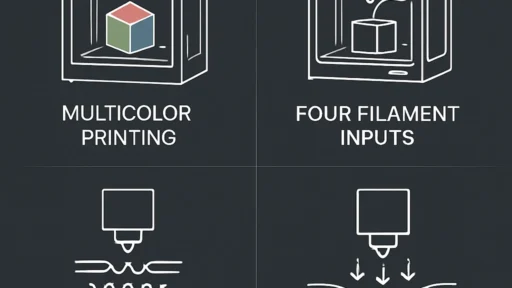
Before diving into the slicing software, take a moment to familiarize yourself with your 3D printer’s capabilities. Different printers have their quirks, and understanding their build volume, layer height, extruder temperature, and filament types can save you a world of headache later. If you know your machine’s strengths and limitations, you can tailor your slicing settings with confidence.
Choose the Right Slicing Software
There are plenty of slicing software options out there, from popular choices like Ultimaker Cura, PrusaSlicer, to Simplify3D. Each has its unique strengths, so it’s worth experimenting to find the one that best fits your workflow and needs. Spend some time exploring the interface and taking advantage of online tutorials specific to the software you choose. Getting comfortable with the tools at your disposal can drastically enhance your slicing skills.
Start with Basic Settings
When you first start slicing, focus on the essential settings: layer height, infill density, print speed, and temperature.
-
Layer height: A thinner layer height (like 0.1mm) usually results in more detail but takes longer to print. If time is of the essence, a layer height of 0.2mm is often a happy medium.
-
Infill density: This determines how solid your object is on the inside. For decorative items, a lower infill (10-20%) is often sufficient. For more functional parts, increase it (50% or higher) for added strength.
-
Print speed: Slower speeds generally yield better print quality, but balancing speed and detail is key. Experimenting can help you find the sweet spot specific to your printer.
-
Temperature: Hotter isn’t always better! Make sure to check the manufacturer’s recommendations for your filament to avoid warping or stringing.
Utilize Supports Smartly
Some models might require extra support, but supports can be a double-edged sword. They can create additional cleanup work post-print, and sometimes lead to uneven surfaces if not correctly configured. Explore your slicing software’s support settings, as you can often adjust things like support density and placement. “Touching build plate” supports usually work for larger areas, whereas “tree support” can be more efficient for intricate designs.
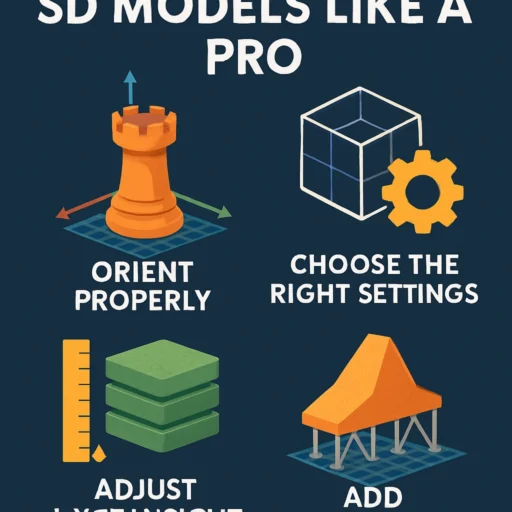
Optimize Orientation
Did you know that the way you orient your model on the print bed can significantly impact the final result? A well-thought-out orientation can reduce the need for supports and improve overall strength. Generally, you’ll want to place the largest flat surfaces on the build plate. If your model has an intricate top part, tilt it slightly to lessen the chance of sagging while printing.
Keep an Eye on Brim and Raft Settings
Sometimes the very base of the print can be a tricky area. Using a brim or raft can help with adhesion, especially for taller models or those with small base areas. A brim adds a few extra layers around your model’s base, while a raft creates a supportive platform. Make sure to understand when to use each based on the characteristics of your model and printer.
Test and Iterate
Just like any craft, practice makes perfect. Don’t be afraid to test out different settings on simple models before committing to more complex prints. The beauty of 3D printing is its iterative nature. Learn from every print, and keep adjusting your techniques. You’ll become more familiar with what works best for your models and printer over time.
Stay Informed and Inspired
The 3D printing community is expansive, with plenty of forums, social media groups, and blogs sharing techniques and insights regularly. Dive into user experiences, engage with more seasoned hobbyists, and share your successes (and flops!). You’ll not only learn a ton but also get inspired to tackle even more ambitious projects.
With these tips in your back pocket, you’re well on your way to slicing your 3D models like a pro! Embrace the journey of creating and experimenting, and remember that each print is a learning experience. Happy slicing!