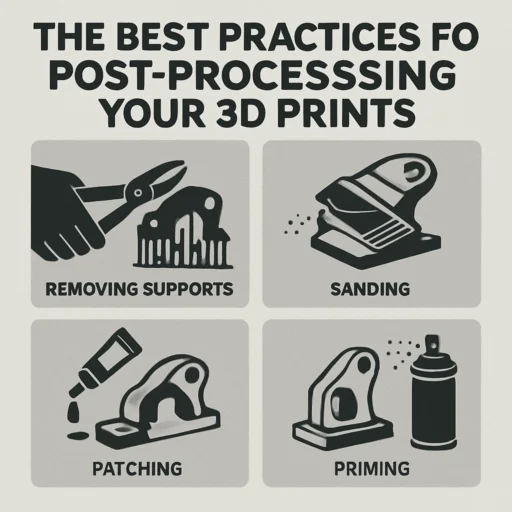

The Best Practices for Post-Processing Your 3D Prints
So you’ve just completed a fantastic 3D print. The design turned out beautifully, and you can hardly wait to show it off. But before you do, let’s talk about post-processing—an essential step that can make your prints look polished and professional. Whether you’re a seasoned pro or just dipping your toes into the 3D printing world, there are some best practices to keep in mind to take your prints from good to stunning.
Cleaning Up the Model
Before you start any post-processing work, it’s important to clean your 3D print. Depending on your printer and materials, you might find some undesirable filament strings, blobs, or support material hanging around. Use a pair of fine-tipped scissors or a craft knife to trim any unnecessary bits without damaging the model. For models with intricate designs, you might want to invest in some hobby files or sandpaper to smooth out hard-to-reach areas.
Sanding for Smooth Surfaces
One of the easiest ways to enhance your print’s finish is by sanding. Start with a coarse grit to remove any major imperfections and then gradually move to finer grits for a sleek finish. If you’re printing with PLA, be aware that too much friction can melt the surface, so use a light touch. For ABS and other sturdy materials, you can really hone in on the perfection without fear. Always remember to wear a mask while sanding to avoid inhaling any particles.
Prime and Paint for a Flawless Finish
Painting is where the magic happens! Once your model is cleaned and sanded, it’s time to add some color. A primer is essential; it helps paint adhere better and gives your model a uniform surface. Spray paint works well for larger pieces, while acrylics might be better suited for detailed work. Take your time with this step—layering paint can create beautiful textures and depth, so don’t rush.
Remember, the beauty of 3D printing is the freedom to express creativity. You can go for a sleek, modern look or dive into whimsical and vibrant designs. Whatever your vision, don’t shy away from experimenting.
Using Acetone for Smoothing ABS Prints
If you’re working with ABS filament, consider the acetone smoothing technique. This method involves exposing your print to acetone vapor, which melts the outer layer and creates a glossy finish. It’s a game-changer for achieving that professional-grade look. However, you must handle acetone with care—work in a well-ventilated area and be mindful of the fumes. Plus, ensure you’re using tools designed for this purpose, like a closed container with a sponge to diffuse the vapor safely.
Adding Details and Assembly
For prints made up of multiple parts, assembly is your next step. Use a strong adhesive suited for the materials you’re working with—super glue works great for PLA, while epoxy resin is typically better for ABS. If your model has intricate components, consider using pins or dowels to strengthen the bond between parts.
Adding additional details can also elevate your model. This might involve attaching printed or bought components, or even adding LED lights for an eye-catching twist. Regardless of your approach, personalizing your prints can make them feel truly unique.
Finishing Touches: Varnish and Coating
To protect your masterpiece, apply a clear varnish or topcoat. This step is especially important for pieces that will be handled frequently or displayed in various environments. A good topcoat can provide UV protection, making sure your stunning colors last longer and resist fading. For a glossy finish, opt for a glossy varnish, and if a matte look is more your style, there are plenty of options for that too.
Conclusion
Post-processing your 3D prints is where you get to infuse your personality and creativity into the final product. Each step—cleaning, sanding, painting, and assembling—brings you closer to that polished finish you’re dreaming about. With a little patience and practice, you can turn your prints into show-stopping pieces that express your unique vision. No matter your skill level, embracing post-processing will elevate your work and inspire you to take on even more ambitious projects in the future. Happy printing!