


Common 3D Printing Problems and How to Solve Them
Ah, the world of 3D printing! It’s like being a wizard, conjuring up physical items from layers of gooey plastic. You can create anything from cute figurines to practical tools, but let’s be honest: sometimes, it’s more like nurturing a pet rock than wielding a magic wand. If you’ve dipped your toes into this fascinating hobby or even if you’ve just taken the plunge, you might have encountered some 3D printing hiccups. No worries! We’re here to troubleshoot and smooth out those bumpy layers.
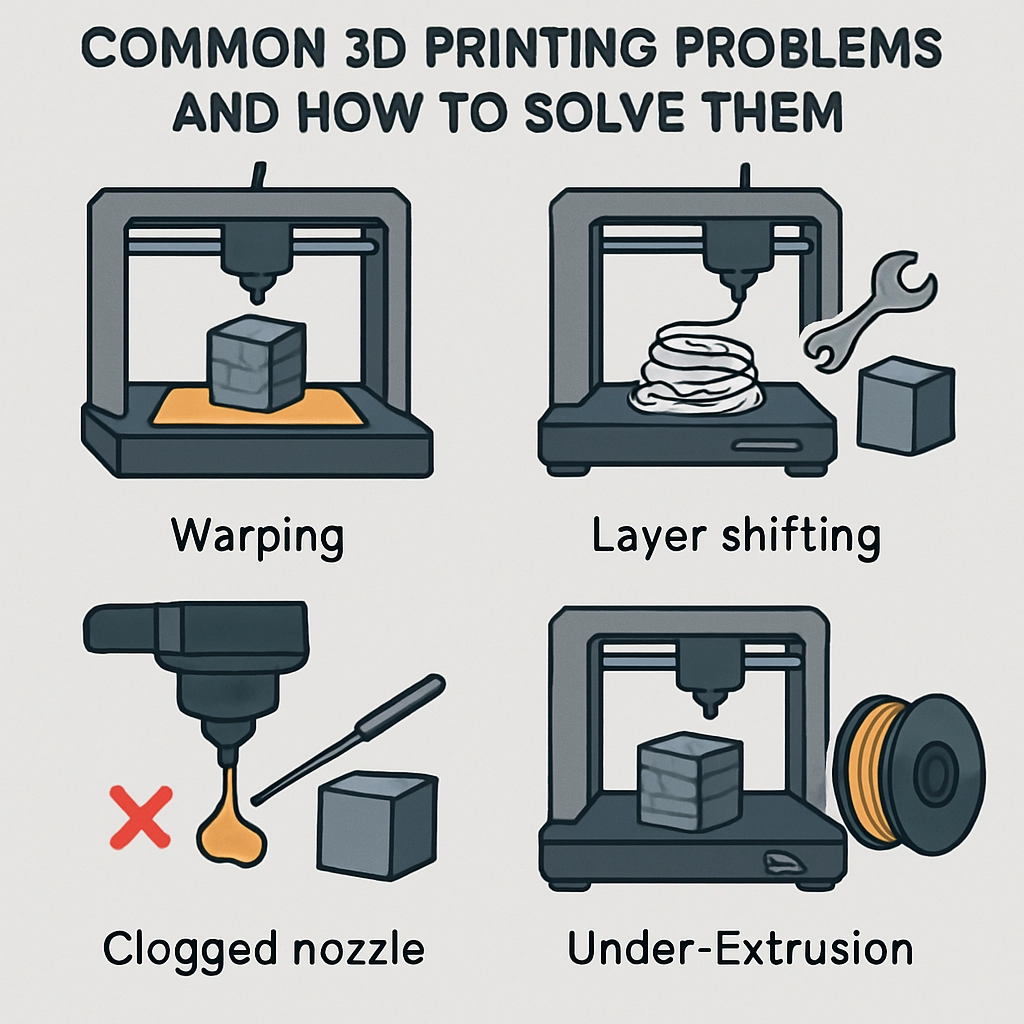
1. Warping
One of the most frustrating issues is warping, which often plagues prints made from ABS and PLA. When the material cools unevenly, your masterpiece may curl up at the edges, resembling something out of a funhouse mirror!
How to Fix It:
- Heated Bed: Ensure your 3D printer has a heated bed, as a warm surface helps materials adhere better.
- Rafts and Brims: Use a raft or brim feature when slicing your model. It adds a solid base and helps the print stick to the bed more effectively.
- Adjust Ambient Temperature: Make sure your print environment is draft-free and at a stable temperature. A simple cardboard enclosure can go a long way!
2. Layer Shifting
Layer shifting can feel like your printer is trying to do the cha-cha while it should be dancing the waltz. This problem manifests as misaligned layers, creating a stepped effect on your print.
How to Fix It:
- Belt Tension: Ensure that the belts in your printer are taut and well-adjusted. If they’re loose, the printer head won’t move precisely.
- Check for Obstructions: Occasionally, dust or debris may interfere with the movement of the print head, so a quick cleaning can help prevent layer shifting.
- Reduce Speed: If you’re printing at a high speed, consider dialing it back. Reducing speed can improve accuracy and enhance detail.
3. Poor Adhesion
Nothing is more disheartening than watching your print fail as it lifts off the print bed like a rebellious teenager. This can happen due to improper bed leveling or the wrong type of adhesion for the filament being used.
How to Fix It:
- Bed Leveling: Regularly level your print bed. If the nozzle is too far away, the filament may not stick. A good rule of thumb is to leave about a sheet of paper’s thickness between the bed and nozzle.
- Surface Treatment: Experiment with different bed surfaces, such as glass, blue tape, or specialized build plates. Some filaments adhere better to certain surfaces.
- Use Adhesives: A thin layer of glue stick, hairspray, or even a dedicated 3D printing adhesive can provide that extra grip to hold your print down.
4. Stringing
So, you’ve got a spaghetti monster instead of a beautifully designed model? Stringing occurs when filament oozes out of the nozzle while moving between points, leaving you with unwanted threads.
How to Fix It:
- Retraction Settings: Adjust your retraction settings in your slicer. This means pulling the filament back slightly when the print head moves to another spot, reducing oozing.
- Temperature Control: Lower the nozzle temperature. Higher temperatures can lead to increased oozing, so finding that sweet spot can be key.
- Speed Adjustment: Printing at a faster speed can help reduce stringing. Just don’t go too fast, or you might run into other issues!
5. Under-extrusion
Here’s another common boo-boo: when your print looks like Swiss cheese thanks to under-extrusion, you may not be putting out enough filament for correct bonding.
How to Fix It:
- Check Filament Diameter: Make sure your printer’s settings match the actual diameter of the filament you’re using. What’s supposed to be a 1.75mm filament might actually be thicker or thinner.
- Clogged Nozzle: Clean your nozzle if it’s clogged. A simple scrape or a nozzle cleaning filament can work wonders.
- Extruder Calibration: Calibrate your extruder steps. Sometimes, a little adjustment is all it takes to get your print quality up to snuff.
3D printing is a journey of trial, error, and eventually, sweet success. While setbacks can be discouraging, they’re often part of the learning curve. With patience, practice, and a sprinkle of problem-solving, you’ll soon be whipping up amazing prints with ease. So roll up your sleeves, grab that filament, and get ready to create some magic—challenges and all!


