The Best Practices for Designing 3D Models for Printing
3D printing has revolutionized the way we create and manufacture objects, ushering in a new era of innovation and creativity. Whether you’re a hobbyist looking to make decorative items or a professional aiming to prototype new inventions, understanding the ins and outs of designing for 3D printing is crucial. If you’re just getting started or looking to brush up on your skills, here are some best practices to make your 3D models printable and successful.
1. Start with the Right Software
Choosing the right software is one of the most critical steps in the design process. There’s a plethora of modeling software out there, ranging from beginner-friendly options like Tinkercad to more advanced programs like Blender or AutoCAD. Your choice will largely depend on your proficiency level and the complexity of the model you aim to create. Many programs offer free trials or starter editions, allowing you to explore their functionalities before committing.
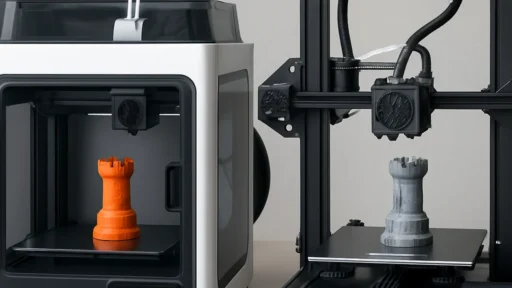
2. Understand Your 3D Printer
Every printer has its own quirks and specifications. Familiarizing yourself with the specific printer you plan to use is essential. Pay attention to the build size, print resolution, and material compatibility. For instance, some printers have limitations when it comes to overhangs and detailed features. Knowing what your printer can handle will save you a lot of headaches later on!
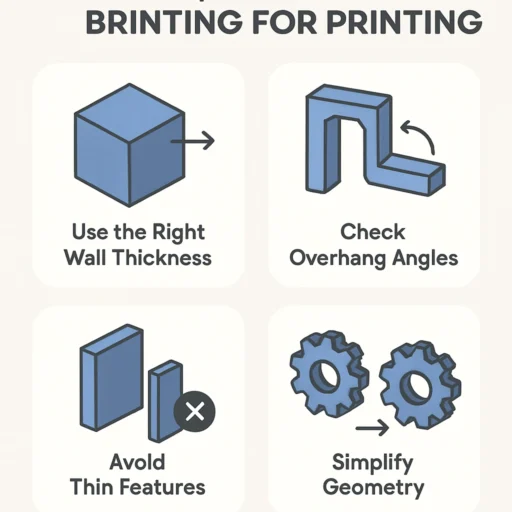
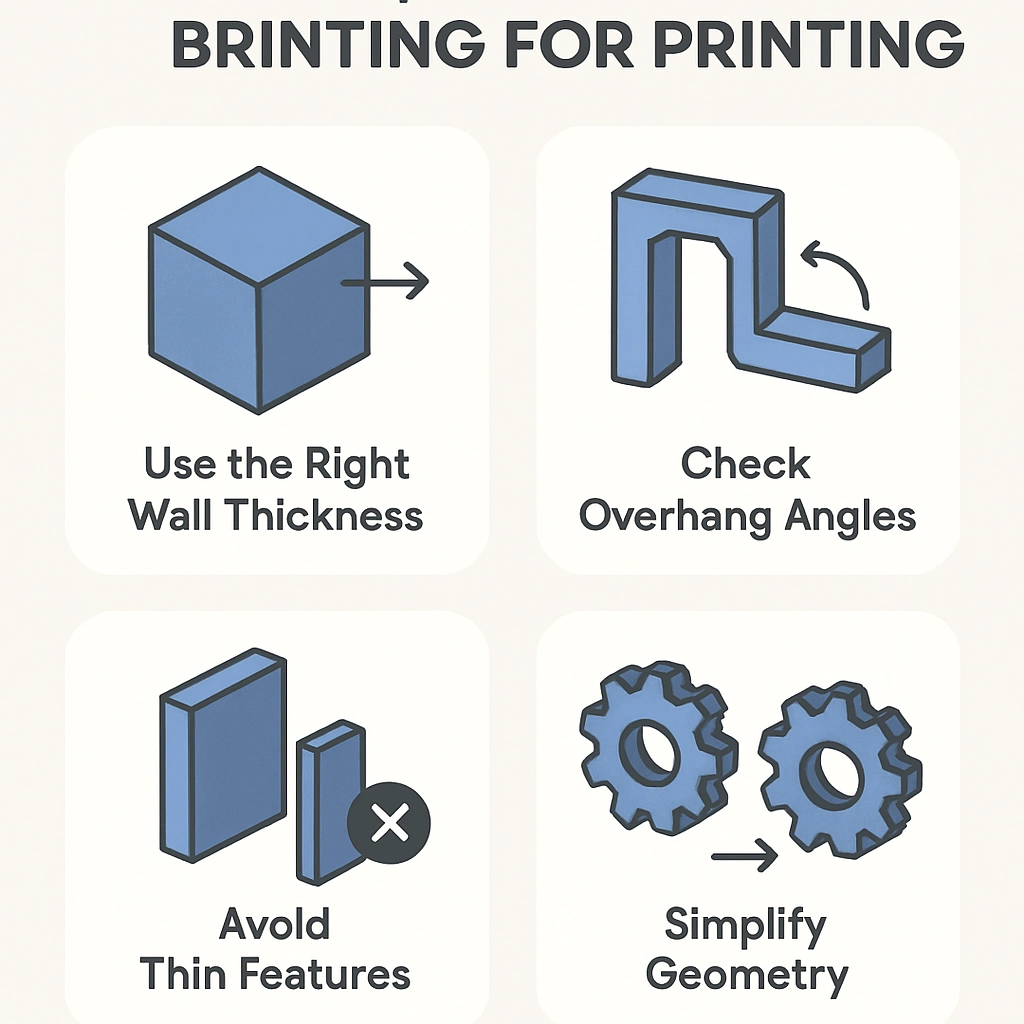
3. Keep It Simple
While it’s tempting to design intricate models, especially as your skills improve, simplicity often yields better results in 3D printing. Complex geometries may cause printing errors or take longer to produce. Focus on creating designs that are not only visually appealing but also structurally sound. Think about how your model will be assembled or supported during printing—sometimes, less really is more!
4. Design for Support
Depending on the shape of your model, it may require support structures during the printing process—especially for overhangs or intricate designs. When you design, consider how these supports will work. You can even incorporate built-in supports that can be easily removed after printing. An efficient design will minimize unnecessary material use and improve print quality.
5. Pay Attention to Wall Thickness
A common pitfall that can lead to printing failure is wall thickness. If your walls are too thin, they may break or not print at all; if they’re too thick, they might waste material and cause internal stress during printing. Generally, a wall thickness of about 1-2 mm is a good rule of thumb, but it can vary depending on your printer and material. Checking the specifications of your chosen printing material will provide guidance on optimal thickness.
6. Optimize for Scale
Consider the size of your model carefully. Expanding your design can seem appealing, but not all printers handle large objects well. Conversely, tiny details can be lost or become unprintable at small scales. It’s ideal to test your design at various scales before committing to a final print. Scaling the design with a small prototype can help you check for problems before taking the plunge with a larger model.
7. Make Use of Test Prints
Before you print your final piece, conduct test prints of smaller sections of your design to troubleshoot any issues. This is particularly useful for checking details, fit, and functionality. Test prints help you identify potential problems like weak points or design flaws without using up a lot of material.
8. Choose the Right Material
The material you select can dramatically affect your 3D model’s properties, from flexibility to strength and finish. Commonly used materials include PLA, ABS, PETG, and resin. Each has its advantages and drawbacks, so understanding what’s available will help you tailor your design’s physical characteristics to meet your needs.
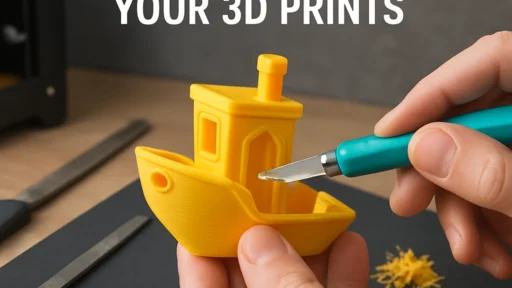
9. Refine Your Model
Once printed, your model might need further tweaking. After your initial print, evaluate its performance. Does it fit together as intended, or does it require adjustments? The more you refine your model with each iteration, the better your final product will be. It’s all about trial and error, which is part of the journey in 3D printing.
As you dive into the world of 3D printing, remember that practice makes perfect. Embrace the learning curve that comes with designing your models, and don’t be afraid to experiment. Each little misstep or unexpected challenge is an opportunity for growth, innovation, and, ultimately, better designs. So get out there, start creating, and let your imagination run wild!