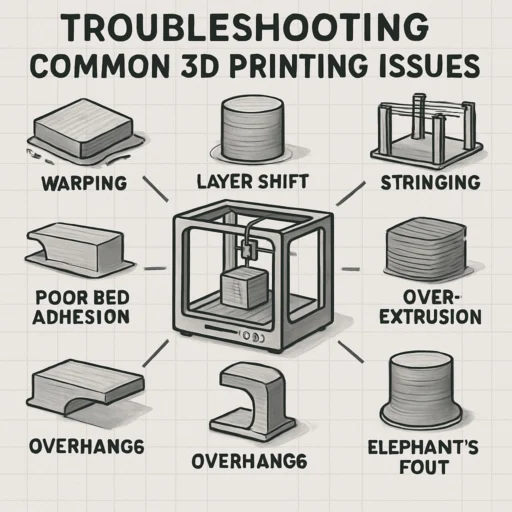
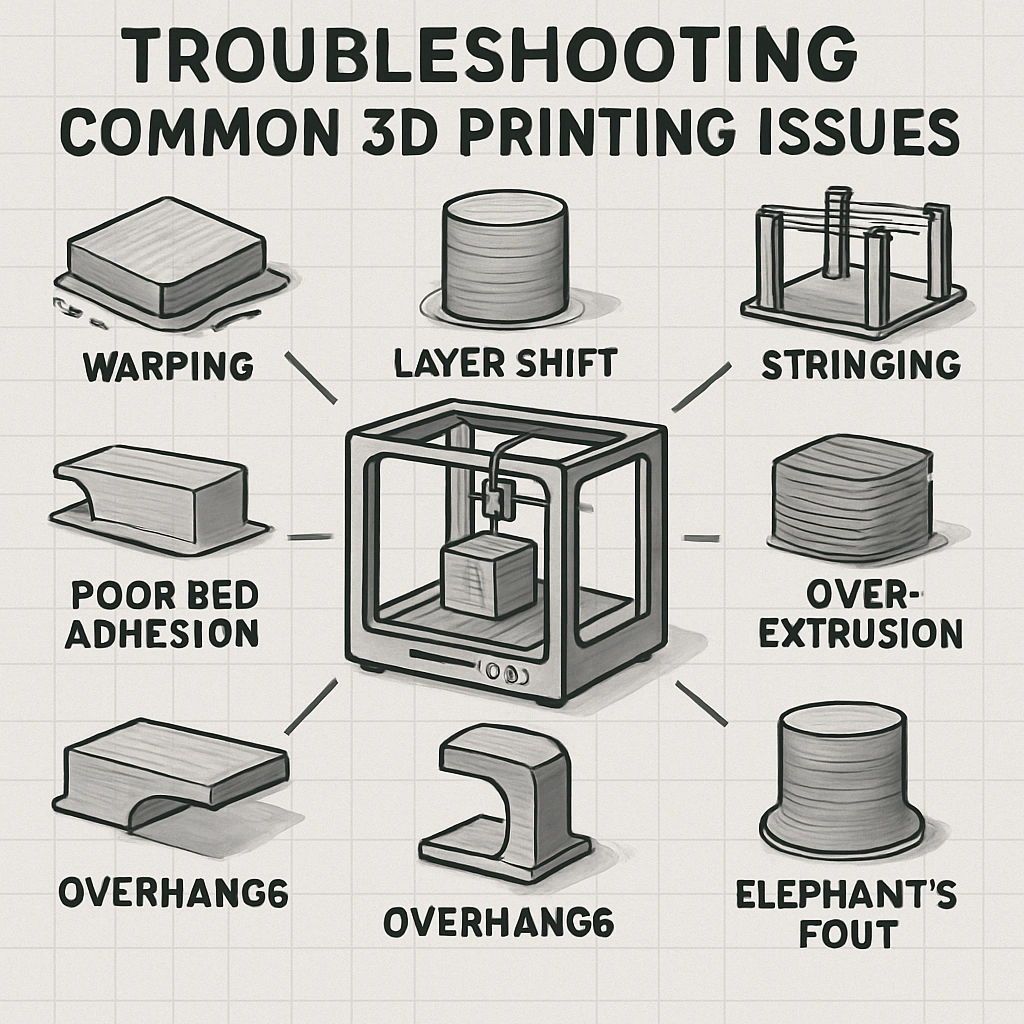
Troubleshooting Common 3D Printing Issues
Ah, 3D printing. The magic of transforming digital designs into tangible objects right in your living room. It’s like having a mini factory at home! But let’s be honest: while 3D printing is revolutionary, it’s not without its quirks. From unexpected layer separation to some seriously frustrating clogs, every 3D printer user has their fair share of battle stories. Whether you’re a total novice or a seasoned pro, troubleshooting 3D printing issues is part of the game. So, let’s dive into some of the most common problems you might encounter and how to solve them without pulling your hair out.
1. Poor Adhesion to the Build Plate
One of the first hurdles in 3D printing is ensuring that your print sticks to the build plate. A strong first layer is essential for a successful print. If you’re noticing that your prints are warping or lifting off the plate, try these tips:
- Clean the Build Plate: Oil from fingerprints or dust can interfere with adhesion. Use isopropyl alcohol to wipe down the surface.
- Adjust the Nozzle Height: The distance between the nozzle and the build plate is crucial. Too far apart, and the filament won’t adhere; too close, and it can block the nozzle. Experiment with the z-offset in your printer settings.
- Use Adhesives: Products like glue sticks, hairspray, or specialized bed adhesion solutions can give that extra grip.
2. Stringing and Oozing
If your prints look like they’ve developed a case of spider webs, then you’re dealing with stringing. This occurs when the nozzle oozes filament while moving from one part of the print to another. Here’s how to tackle it:
- Adjust Retraction Settings: Fine-tuning your retraction distance and speed can significantly reduce oozing. Start by increasing the retraction distance and experimenting with retraction speed to find the sweet spot.
- Increase Print Speed: Sometimes, increasing the print speed can help reduce the dwell time of the nozzle over open spaces, minimizing stringing.
- Optimize Temperature: Lowering the printing temperature can make the filament less prone to oozing. However, be cautious—too low, and it can cause under-extrusion.
3. Layer Separation or Delamination
While you might expect your print to come out looking sleek and uniform, occasionally, you might find layers separating as if they’re trying to break free. This could be due to a few factors:
- Temperature Issues: Ensure that the print temperature is correct for the filament being used. Too low, and the layers won’t properly fuse; too high, and you risk cooking the material.
- Inadequate Cooling: Some materials need proper cooling to solidify quickly; otherwise, the layers won’t bond well. Adjust your cooling fan settings if you notice delamination.
- Print Speed: Slower speeds can help the layers to properly bond, especially with tricky filaments like ABS.
4. Clogged Nozzle
A clogged nozzle feels like the universe is conspiring against your desire to create. Luckily, there are ways to clear it up:
- Cold Pull: Heat the nozzle to the printing temperature, then let it cool slightly before pulling the filament out. This helps remove any debris.
- Cleaning Filament: You can run a special cleaning filament through your nozzle to help clear any residue.
- Replace the Nozzle: If you find persistent clogs, it might be time to swap out the nozzle for a new one.
5. Inconsistent Extrusion
If you notice that your print has gaps or under-extrusion, it might be caused by inconsistent filament flow. Here’s what to do:
- Check the Filament: Inspect it for tangled coils or breakages. Also, ensure it’s dry—moisture can ruin a good print.
- Adjust Extrusion Multiplier: In your slicer software, the extrusion multiplier can be fine-tuned to ensure the right amount of filament is being used.
- Examine Your Printer: Look for mechanical issues, such as stepper motors skipping due to misalignment or weak power supply.
3D printing can be an incredible journey filled with learning and creativity, but it can also feel overwhelming when things go awry. Knowing common issues and how to troubleshoot them not only saves time but also builds your confidence. Remember, every challenge is a stepping stone to becoming a better 3D printing enthusiast. So, don’t let those pesky problems deter you—embrace them, learn from them, and keep printing! Happy creating!