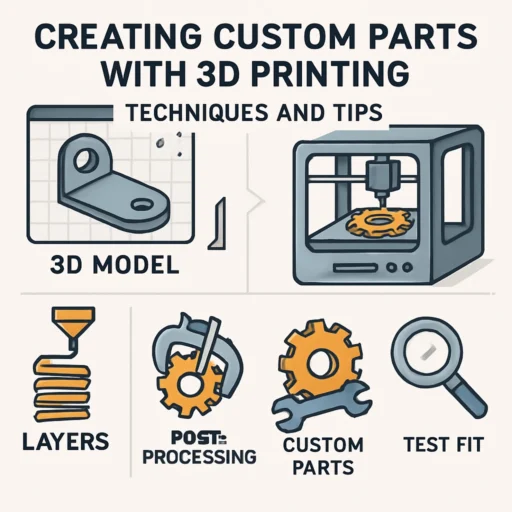
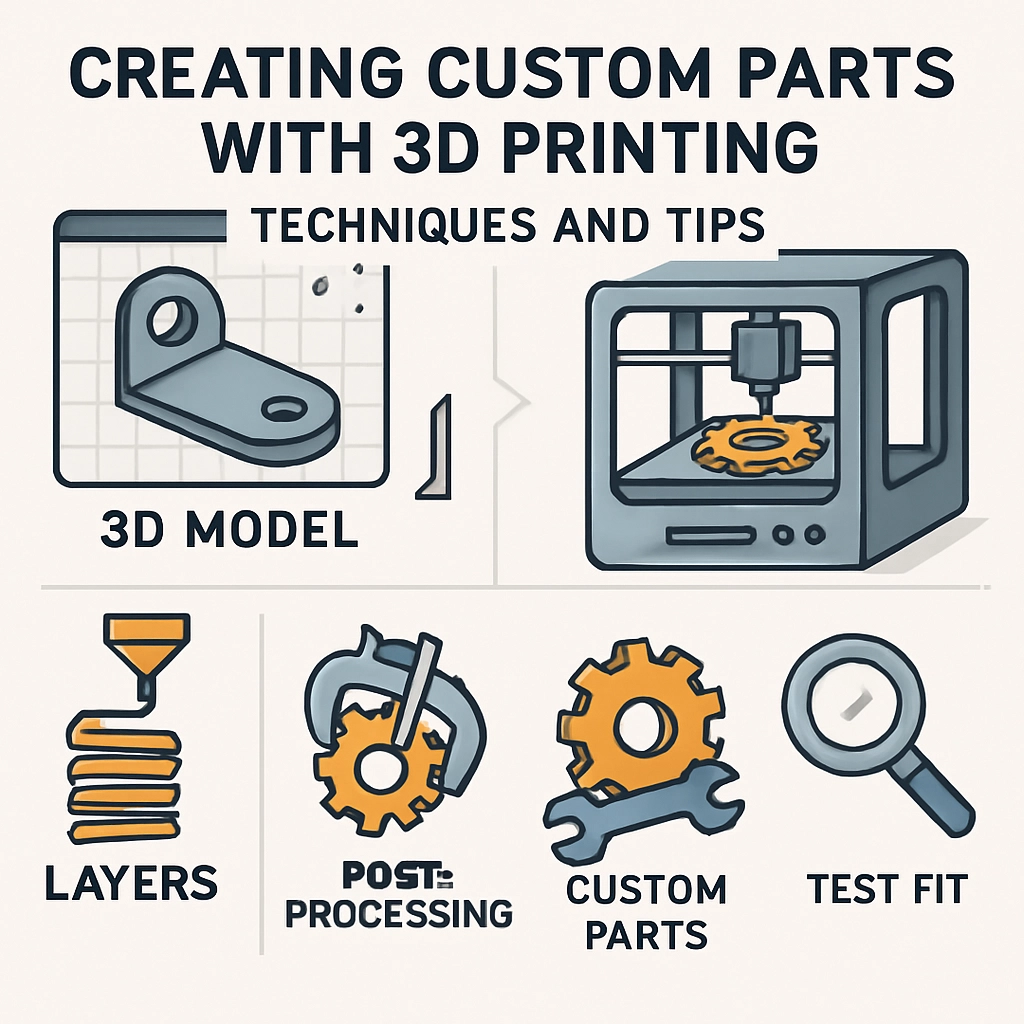
Creating Custom Parts with 3D Printing: Techniques and Tips
The world of 3D printing has evolved at lightning speed over the past few years. What once seemed like science fiction is now a standard practice in many industries, from engineering to healthcare and even home crafting. Having the ability to design and fabricate your own custom parts opens up a whole new realm of possibilities. Whether you’re an experienced maker or just dipping your toes into the 3D printing pool, this guide will share some techniques and tips to help you create your very own custom parts.
Understanding the Basics
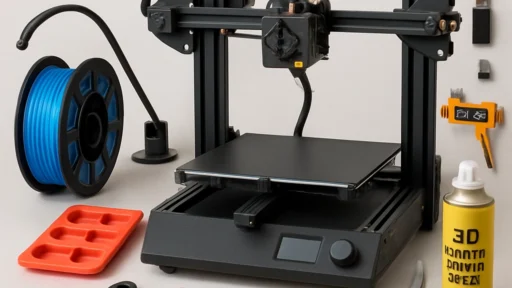
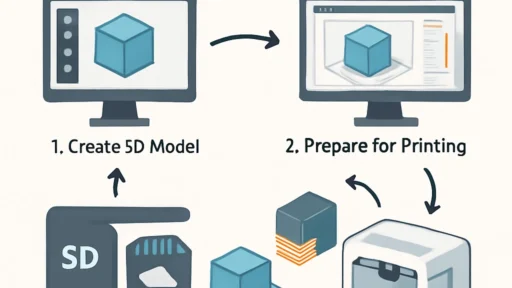
Before we dive into techniques, let’s quickly recap how 3D printing works. At its core, 3D printing is an additive manufacturing process where layers of material are layered on top of each other to create a 3D object. The most common type of 3D printing for hobbyists is Fused Deposition Modeling (FDM), where a thermoplastic filament is heated and extruded through a nozzle. Other methods like Stereolithography (SLA) and Selective Laser Sintering (SLS) use different materials and technologies to achieve similar results.
Choosing Your Software
The design stage is crucial in the 3D printing process, and selecting the right CAD (Computer-Aided Design) software can make or break your project. For beginners, software like Tinkercad provides a user-friendly interface to create basic designs. As you grow more comfortable with design principles, you may want to explore more advanced programs like Fusion 360 or Blender. Both have extensive resources and communities that can help you troubleshoot and expand your skills.
Design Tips for Custom Parts
-
Understand Your Printer’s Limitations: Every 3D printer has its quirks and capabilities. Before you start designing, familiarize yourself with your printer’s specifications like build volume, layer height, and material compatibility. This way, you won’t design something that can’t be produced.
-
Consider Functionality: Think about how your part is going to be used. Will it need to withstand weight or stress? Are there any functional features, like holes for screws or interlocking parts? Make sure your design is not just aesthetically pleasing but also practical.
-
Optimize for Printing: Aim for designs that minimize overhangs and complex geometries. If your part has intricate details, consider utilizing support structures or breaking the design into several pieces that can be assembled later.
-
Test Fitment: For parts that need to fit together, consider creating tolerance in your designs. Depending on your printer and filament, you may need to adjust sizes slightly to ensure a snug fit.
-
Start Small: Work on smaller projects first to practice your skills and gain a better understanding of your printer. Whether it’s a simple hook for your wall or a custom phone stand, small projects can build your confidence without overwhelming you.
Material Matters
The choice of material can dramatically impact your project’s success. Common options include PLA, ABS, and PETG, but each material has its strengths and weaknesses. For example, PLA is great for beginners due to its ease of use and eco-friendliness, while ABS offers higher durability and heat resistance. If you’re making parts that need to withstand a lot of stress, PETG might be the ideal compromise.
Do some research about the materials that best suit your project’s requirements and always buy from reputable sources to ensure quality and consistency.
Post-Processing
Once your part is printed, the fun isn’t quite over yet! Depending on your project, you might want to do some post-processing. This can include sanding rough edges, painting, or applying sealants. For certain projects, consider using acetone vapor smoothing for ABS prints to give them a polished look.
Also, do keep in mind that some parts might require assembly; having a good glue or bonding method can make a big difference in how well your final product holds together.
Embrace the Learning Curve
3D printing is as much an art as it is a science. You might find that some of your first projects don’t turn out exactly as you envisioned, and that’s perfectly okay! Each mistake is an opportunity to learn and refine your skills. Join online communities, engage with fellow makers, and share your experiences—this can provide valuable feedback and inspiration.
The beauty of creating custom parts with 3D printing is its endless possibilities. With a bit of creativity, a dash of persistence, and these techniques and tips in your toolkit, you’ll be well on your way to crafting unique and functional parts that can truly enhance your life. So, fire up that printer and let your imagination take flight!