
Step-by-Step Guide to Creating Your First 3D Print
3D printing has taken the world by storm, offering a unique combination of creativity, technology, and hands-on crafting. Whether you’re looking to create functional parts, artistic sculptures, or even a personalized gadget, diving into the realm of 3D printing can be a thrilling experience. If you’re new to this fascinating hobby and wondering how to get started, you’re in the right place! Let’s walk through the process step-by-step.
Step 1: Get Your 3D Printer Ready
Before you can start your first print, you need to have a 3D printer. There are a variety of printers available in different price ranges, so you don’t have to break the bank. Here are a few beginner-friendly options:
- FDM Printers (Fused Deposition Modeling): These are the most common types and use thermoplastic filaments. They’re a great starting point due to their affordability and ease of use.
- Resin Printers: These offer high precision but can be trickier to work with and often come with more stringent safety requirements.
Once you have your printer selected and set up, follow the manufacturer’s guidelines for installation and calibration. This may include leveling the print bed and loading filament, which is usually a simple task.
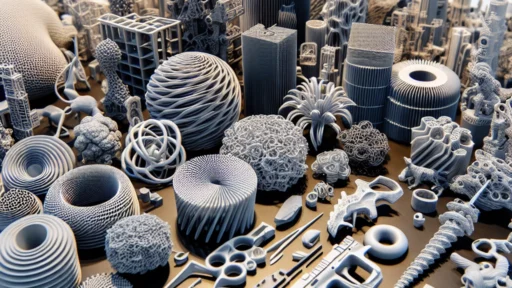
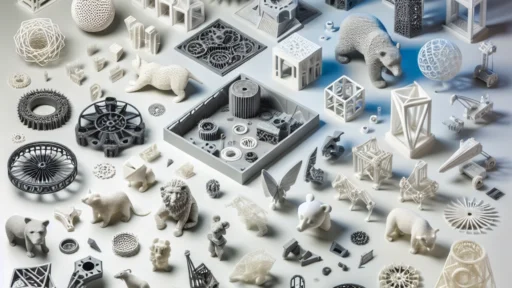
Step 2: Find or Create a 3D Model
After getting your printer up and running, the next step is to acquire a 3D model to print. You have several options here:
-
Download a Free Model: Websites like Thingiverse, MyMiniFactory, and Cults3D have thousands of free downloadable models. Simply search for something that tickles your fancy, download the STL file, and you’re good to go!
-
Design Your Own: If you have a specific idea in mind, you can create your own model using software like Tinkercad (great for beginners), Blender (more advanced), or Fusion 360. Each of these programs has plenty of tutorials available online to help you get started.
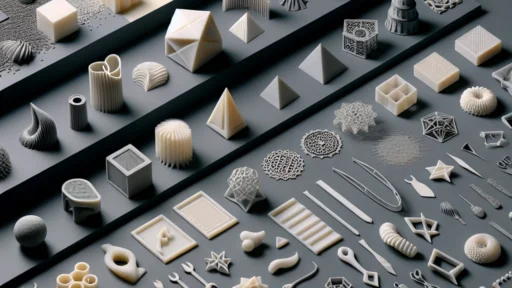
Step 3: Slice the Model
Once you have your 3D model, it’s time to slice it. Slicing software converts your 3D file into a set of instructions (G-code) that the printer understands. Popular slicing programs include Cura, PrusaSlicer, and Simplify3D.
When using slicing software, you’ll have options to customize your print settings:
- Layer Height: Thinner layers result in finer detail but can take longer to print. A common starting point is 0.2mm.
- Infill Density: Determines how solid the print will be. A lower infill (around 10-20%) is great for prototypes, while a higher infill (around 50% or more) is necessary for functional parts.
- Print Speed: Slower print speeds can improve quality, but they also take longer to complete.
After adjusting your settings, hit the “Slice” button and save the G-code to an SD card or send it directly to your printer if it’s connected via USB or Wi-Fi.
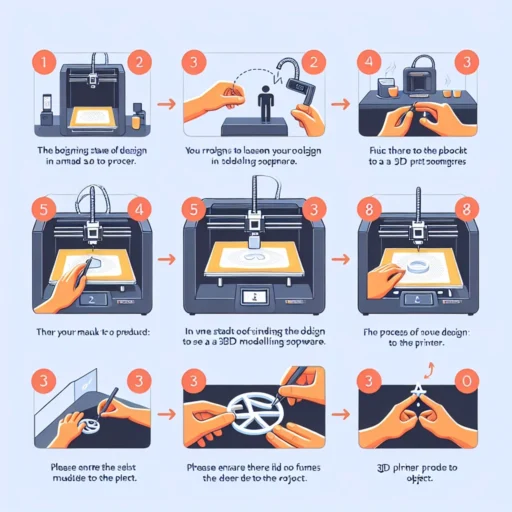
Step 4: Prepare and Start Your Print
Now, you’re ready to hit the print button! But before that, you need to perform a few checks:
- Load the Filament: Make sure your chosen filament is loaded properly into the printer.
- Level the Print Bed: This is crucial for ensuring your 3D print adheres well and doesn’t fail during the process.
- Temperature Settings: Make sure your printer is set to the correct temperature for the filament you’re using (usually specified on the filament spool).
Once everything is prepared, press the print button and watch your creation come to life. Depending on the complexity of your model, printing can take anywhere from a few minutes to several hours.
Step 5: Post-Processing Your Print
After your print finishes, it’s time for the fun of post-processing! Carefully remove your print from the bed and take note of any supports or rafts that may need to be removed. Tools like a hobby knife or pliers can help with this.
You can also sand, paint, or otherwise finish your print to achieve a look that feels polished. This step is all about letting your creativity shine!
Step 6: Learn and Iterate
Congratulations! You have successfully created your first 3D print. But remember, every print is a learning experience. Don’t be afraid to experiment with different models, settings, and techniques. The vast world of 3D printing opens up countless possibilities for customization and creativity.
As you embark on this 3D printing journey, embrace the process. There will be mistakes and learning curves, but each print brings you closer to mastering the craft. So gather your filament, fire up your printer, and let your imagination run wild. The world of 3D printing is waiting for you!