Getting Started with Bambu Lab 3D Printers: A Step-by-Step Guide
Are you ready to dive into the fascinating world of 3D printing with a Bambu Lab printer? Whether you’re a curious beginner or someone who’s dabbled in 3D printing before, Bambu Lab’s printers are designed to make the process as smooth as possible. Let’s take a closer look at how to get started with your new 3D device, with practical steps and friendly tips to guide you along the way.
Unpacking Your Bambu Lab Printer
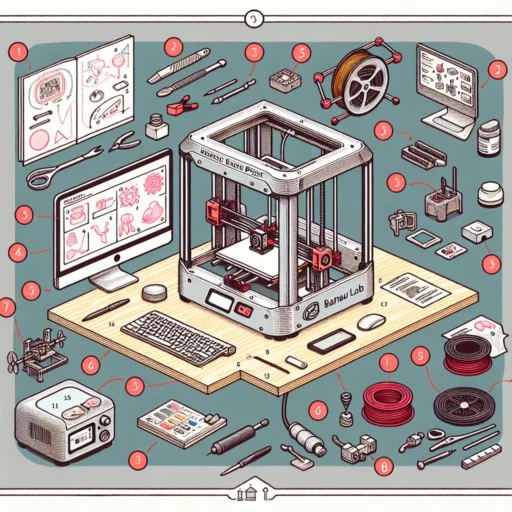
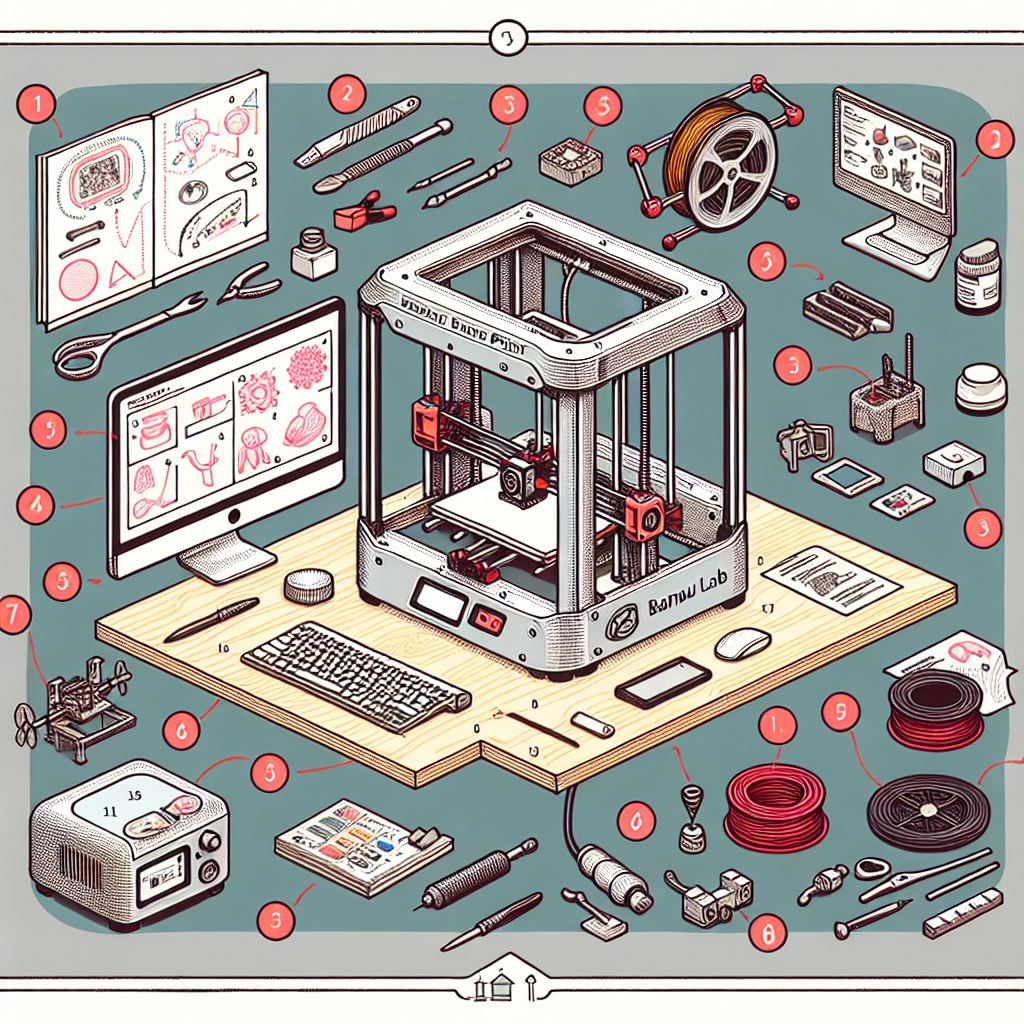
First things first, let’s get your Bambu Lab 3D printer out of the box. Carefully open the package and lay out all the components. You should find the printer, power supply, USB cable, a user manual, and various accessories like filament. Take a moment to ensure everything is there; now is the best time to double-check against the product list included in your manual.
As you unpack, keep your workspace organized. Setting everything up in a clear area can help to prevent losing any small parts, especially if you’re excited and moving quickly!
Setting Up the Hardware
Now that you have everything unboxed, it’s time to set up your printer. Start by choosing a sturdy, flat surface that can handle the printer’s weight (and maybe a little noise) during operation. Make sure the area has good airflow and access to a power outlet.
-
Assembly: Most Bambu Lab printers require minimal assembly. Follow the quick-start guide that came with your printer. Connect the frame components if necessary, and ensure that everything is tightly secured.
-
Connecting Power: Plug the power supply into your printer and then into the wall. It’s always a good idea to ensure the switch is turned off when connecting power for safety’s sake.
-
Leveling the Build Plate: Proper leveling is crucial for successful prints. The manual typically provides step-by-step instructions for this process. Make small adjustments until the nozzle is just above the build plate—this step can make all the difference!
Installing and Configuring the Software
With the hardware sorted, let’s move on to software. Bambu Lab printers generally work with their proprietary software, so downloading it is a must. Visit the Bambu Lab website and download the latest version of the software suitable for your operating system.
-
Installation: Once downloaded, install the software by following the prompts on your screen.
-
Creating Your Profile: Open the software and set up a new printer profile. Most of the relevant settings specific to your model should already be pre-filled, but double-check to ensure they match your printer.
-
Connecting to the Printer: The software will guide you through connecting to your printer via USB. Alternatively, if your printer supports Wi-Fi, you can connect that way as well. Having a reliable connection will save you from issues down the line.
Loading Filament and Preparing to Print
Now that your printer is all set up and connected to your software, it’s time to load the filament. Bambu Lab printers typically use PLA, PETG, or ABS filament, so choose your type based on your project’s needs.
-
Loading the Filament: Follow the instructions in your manual to load the filament into the printer. Don’t worry if it seems complicated at first; with practice, it becomes second nature!
-
Choosing Your Model: It’s time to design or download your 3D model. Websites like Thingiverse or MyMiniFactory are treasure troves of free models you can print. If you’re feeling creative, software like Tinkercad can be a great introduction to modeling your designs.
-
Slicing Your Model: This is where the magic happens! In your Bambu Lab software, import the model you’ve chosen, and use the slicing feature to prepare it for printing. Check the settings like layer height and print speed, adjusting them to suit your project.
Starting Your First Print
With everything ready, it’s finally time to print! Click the print button and watch your printer work its magic. It’s completely normal to feel a mix of excitement and nervousness.
Keep an eye on your first print, but don’t hover—it’s about cultivating trust in your equipment. If all goes smoothly, congratulations! You’ve crossed a major milestone in your 3D printing journey.
Learning and Experimenting
Once you’ve printed your first few models, don’t hesitate to experiment. Try different filament types, explore new models, or even tweak your designs. Each print is a learning opportunity, and that’s where the fun really begins.
Getting started with your Bambu Lab 3D printer is an adventure filled with creativity and learning. Embrace the process, stay curious, and enjoy each print as you hone your skills. Happy printing!