
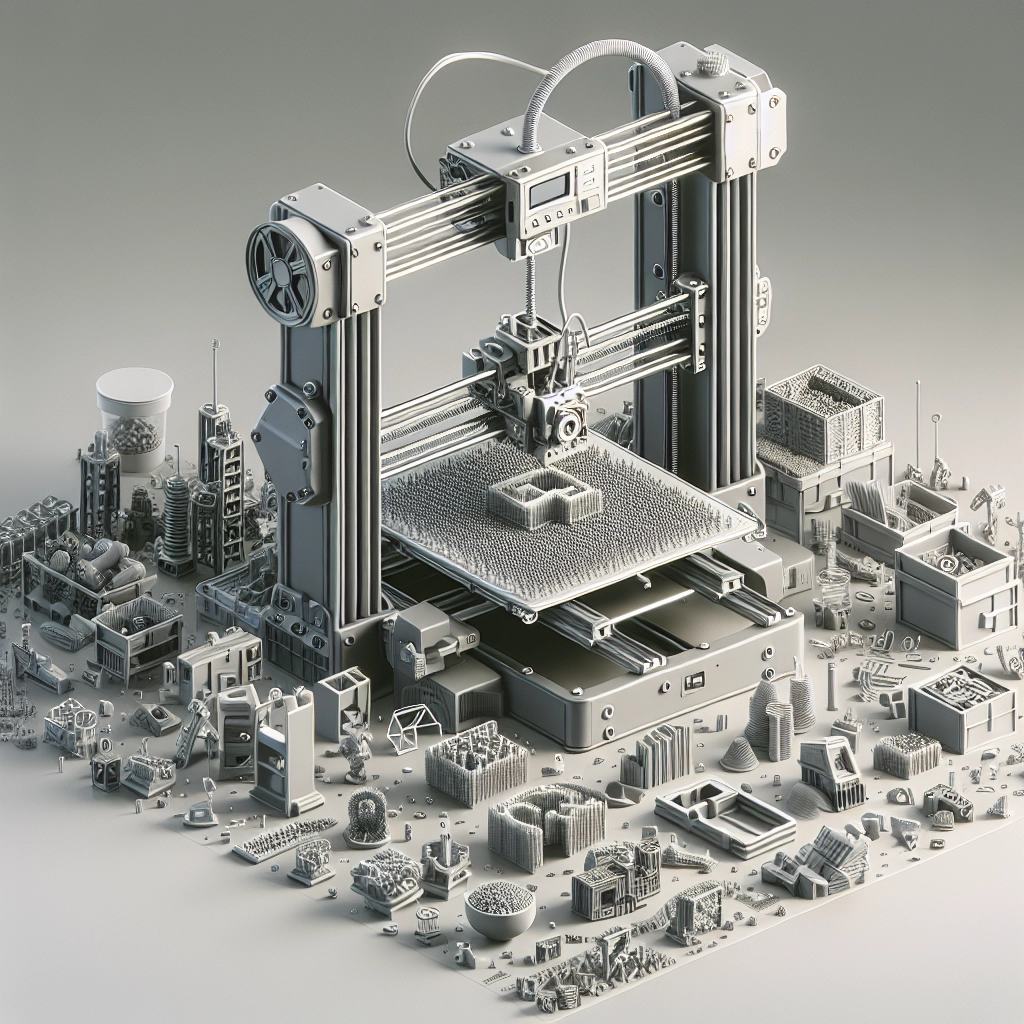

How to 3D Print Custom Parts for Your Projects
So, you’re diving into the world of DIY projects, and you’ve heard that 3D printing can be a game-changer. You’re absolutely right! Whether you’re building a prototype, creating a one-off tool, or simply indulging in a bit of crafted whimsy, 3D printing custom parts can elevate your projects in ways you might not have imagined. Let’s break down the process of making your own custom 3D parts, from ideation to the final print.
Getting Started: What Do You Need?
Before you can unleash your creative genius with a 3D printer, there’s a bit of prep work to do. Here’s the basic toolkit you’ll need:
-
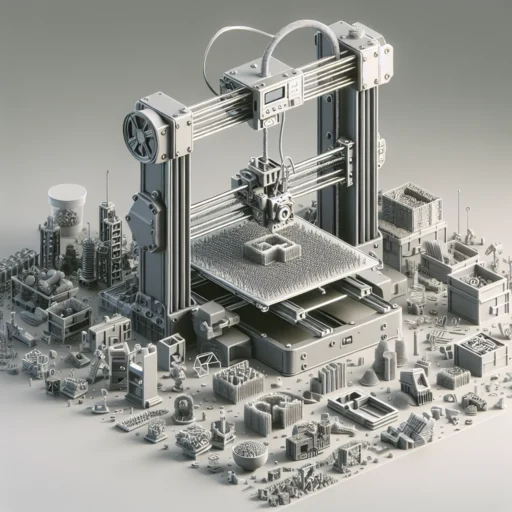
3D Printer: There’s a huge range of 3D printers available. If you’re just starting out, something like an entry-level FDM (Fused Deposition Modeling) printer, such as the Ender 3 or Anycubic i3, is perfect. These printers are relatively affordable and user-friendly.
-
Design Software: For designing your custom parts, you’ll need some software. Tinkercad is a fantastic tool for beginners. It’s web-based, free to use, and has a low learning curve. If you need something more robust, programs like Fusion 360 or Blender offer advanced features but come with a steeper learning curve.
-
Filament or Resin: Depending on the type of printer you choose, you’ll need either filament (for FDM printers) or resin (for SLA printers). Filament comes in various materials, including PLA, ABS, and PETG, each with its own properties regarding strength, flexibility, and ease of use.
-
Slicing Software: After creating your 3D model, you will need to convert it into a format your printer can read, which involves "slicing" the model. Software like Cura or PrusaSlicer allows you to set parameters like layer height and infill density.
Designing Your Custom Part
Now, let’s get to the fun part—designing!
Start up your chosen software and draft your design. Be clear on the part’s functionality: what will it do? What are its dimensions? It’s helpful to sketch out your ideas on paper first to get a sense of scale and shape before jumping into the digital world.
Once you have a clear vision, use the software to create your design. Most programs will allow you to build complex shapes from simple ones—don’t underestimate the power of basic geometric forms! If you hit a snag or need inspiration, there are plenty of online tutorial videos and forums to help you out.
Slicing Your Design
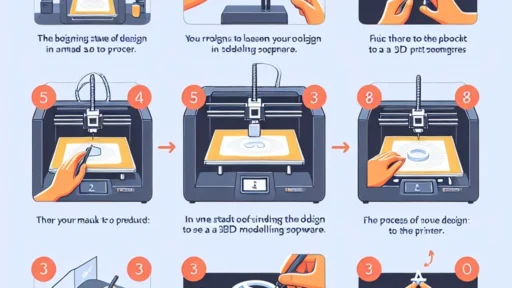
With your model complete, it’s time to prepare it for printing. Open it in your slicing software and adjust the settings according to your printer and the material you’ll use.
Some key settings to consider include:
- Layer Height: A smaller layer height means a smoother finish but takes longer to print.
- Infill Density: This affects the internal structure. For decorative parts, a lower infill (10-20%) will suffice. If you need a strong part, aim for 50% or more.
- Supports: If your part has overhangs, you may need to enable supports to ensure a clean print.
Once you’re satisfied with your settings, export the G-code file that your printer will use.
Printing Your Part
Now comes the moment of truth! Load your G-code file onto your printer, either via SD card or USB, depending on your device. Make sure to level the bed and load your filament or resin correctly. Hit print, and marvel at the machine working its magic!
Keep an eye on the first few layers to ensure everything is adhering properly to the print bed. If you notice issues, it may help to check the nozzle for clogs or ensure the bed is clean.
Post-Processing Your Prints
Once your print is complete, it’s time to remove it from the build plate. Depending on the material, you might want to sand or paint your part. For resin prints, gentle washing in isopropyl alcohol will help remove uncured resin and enhance the finish.
Bring It All Together
Now you have successfully printed your custom part! Whether it fits perfectly into your project or serves as a valuable learning experience, each step in this process helps you develop skills to tackle more complex designs in the future.
3D printing can feel daunting at first, but remember, it’s about trial and error. Each print is a chance to refine your skills and expand your imagination. Soon you’ll be creating intricate designs that not only meet your project needs but also inspire the creativity of others. So, grab that 3D printer, let your imagination soar, and enjoy the incredible journey of bringing your ideas to life!