Step-By-Step Guide to Setting Up Your Bambu Lab 3D Printer
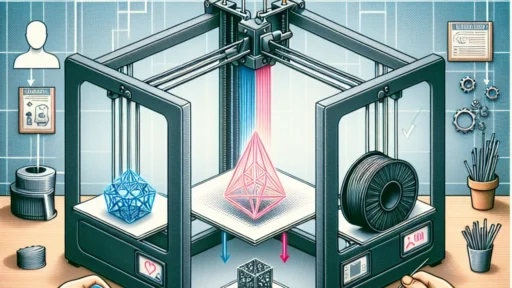
Congratulations on taking the plunge into the exciting world of 3D printing! The Bambu Lab 3D printer is a fantastic piece of technology that opens the door to creativity and innovation. Whether you’re aiming to create unique prototypes, replacement parts, or artistic masterpieces, setting up your printer correctly is crucial for bringing your ideas to life. Don’t worry; we’ll guide you through the setup process step-by-step to ensure you get printing in no time.
Gather Your Tools and Materials
Before diving into the setup, let’s make sure you have everything you need:
- Bambu Lab 3D Printer
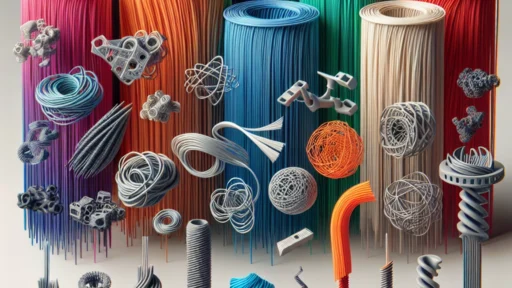
- Printer filament (PLA, ABS, or PETG)
- USB storage device (for loading models)
- Computer with slicing software (like CAD or Cura)
- Basic tools (if needed for assembly)
- Power supply
Having everything lined up in advance will save you time and help you feel organized.
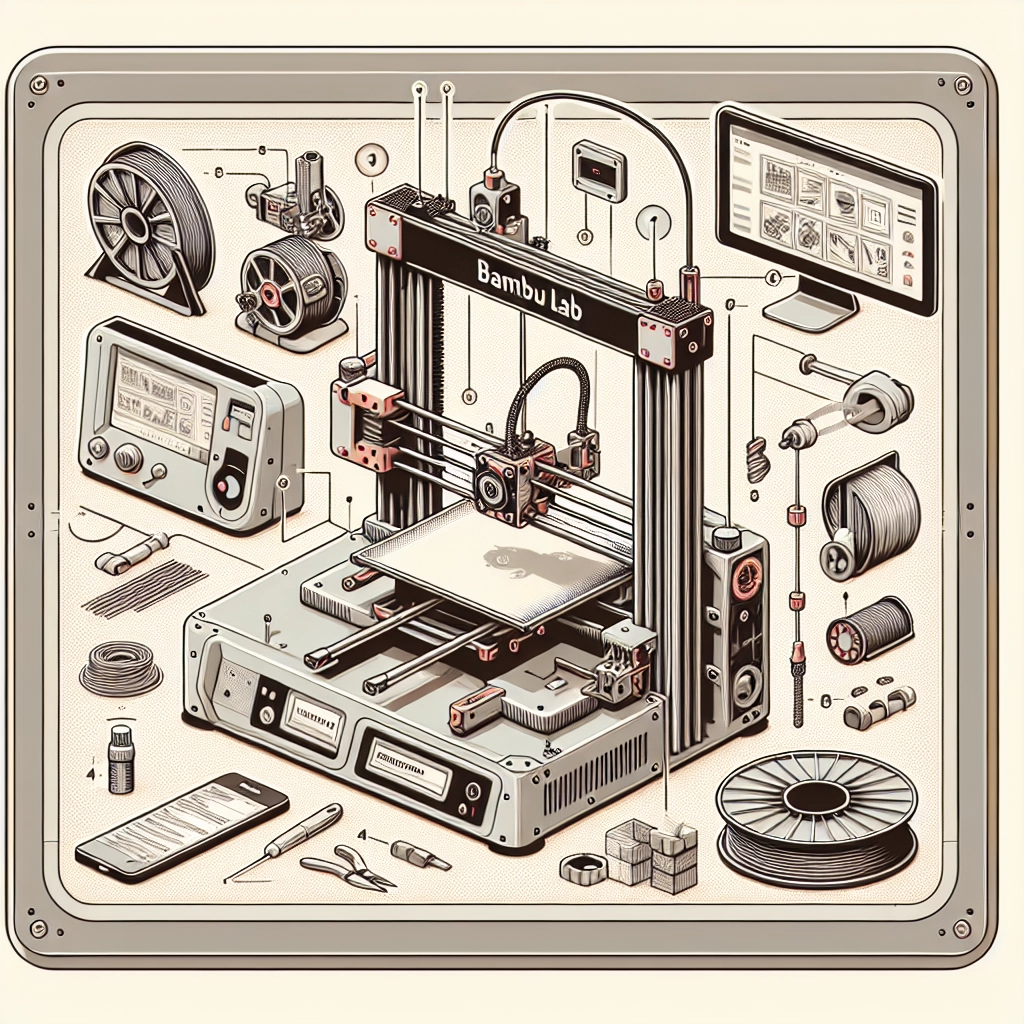
Unboxing Your Printer
-
Carefully Open the Box: When opening the box, be gentle as you want to avoid damaging any components. Lay everything out and make sure you have all the parts listed in the manual.
-
Inspect the Components: Check for any potential shipping damage. Look over the printer’s main body, build plate, filament spools, and any cables to ensure they’re all intact.
Setting Up the Printer
-
Position the Printer: Choose a stable, flat surface for your printer. Make sure it’s in a well-ventilated area and away from direct sunlight or heat.
-
Connect the Power Supply: Plug in the power supply to the printer and secure any cables to avoid tripping hazards.
-
Install the Build Plate: Follow the instructions to install the build plate onto your printer, ensuring it’s securely fastened.
-
Load the Filament Holder: Attach the filament holder to the printing unit as instructed. This will hold your filament spool in place while printing.
Initial Software Setup
-
Power On the Printer: Once everything is in place, go ahead and power on your 3D printer. You’ll soon be greeted by a user-friendly touchscreen interface.
-
Update Your Firmware: It’s a good practice to check if there’s a firmware update available. Follow the prompts on the interface to perform the update, as this may enhance printer performance and add new features.
-
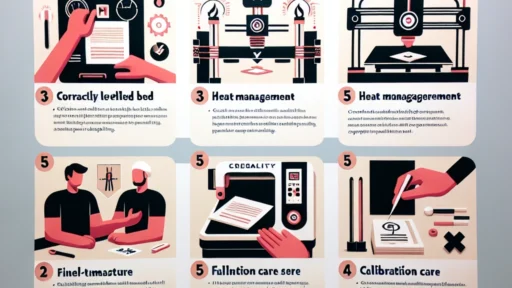
Calibrate the Printer: Using the interface, navigate to the calibration settings. This usually involves leveling the build plate and ensuring the print nozzle height is configured correctly. Calibration is key to preventing printing issues down the road.
Loading Filament
-
Prepare the Filament: If you’re using a new filament spool, cut the end at a 45-degree angle. This point will help it feed easier into the extruder.
-
Load the Filament: Follow the on-screen prompts to load the filament. When the printer heats up, gently push the filament through until you see it extruding from the nozzle. It may take a few moments, so be patient!
Slicing Your 3D Models
-
Choose Your Model: You can create your own 3D models using various software or download existing ones from sites like Thingiverse or MyMiniFactory.
-
Slice Your Model: Use slicing software (like Cura) to convert your 3D model into a format the printer understands. Don’t forget to select the appropriate settings based on your filament type and desired print quality. This will greatly impact the outcome of your print.
-
Save to USB: Once you’ve sliced your model, save it onto a USB drive for easy transfer back to your printer.
Start Printing
-
Insert the USB Drive: With your USB drive loaded with your model, simply plug it into the appropriate port on your printer.
-
Select Your Model: Using the touch interface, navigate to the model you wish to print. Review the settings, if necessary, and ensure that everything looks good.
-
Hit Print!: Once you’re ready, press the print button! Enjoy the anticipation as your printer begins to bring your design to life.
Enjoying the Process
Remember, the first few prints might come with a few hiccups as you get used to your printer and settings. Don’t get discouraged! Troubleshooting and experimentation are part of the learning journey in 3D printing. Take notes on what works and what doesn’t, and soon you’ll be churning out impressive prints with ease.
Setting up your Bambu Lab 3D printer is just the beginning of an incredible adventure in creativity and production. With each project, you’ll refine your skills and discover new techniques, making it an endlessly rewarding experience. So go ahead, unleash your imagination, and let your creativity take flight—happy printing!