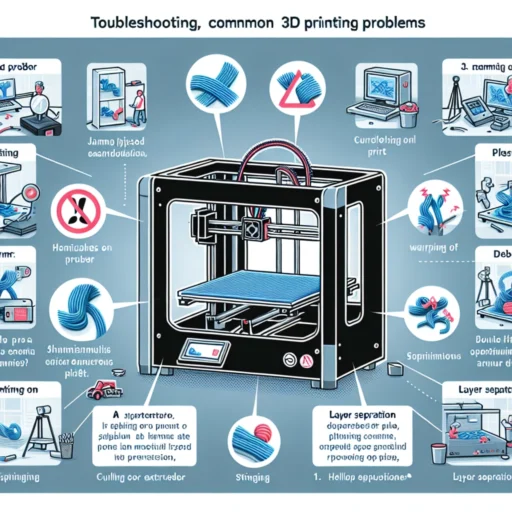
Troubleshooting Common 3D Printing Problems
Ah, 3D printing—it’s like magic, isn’t it? One moment, you’re staring at a digital design on your screen, and the next, you see it transform into a tangible object before your eyes. But like any magic trick, there can be a few mishaps along the way. If you’re diving into the world of 3D printing or already have a printer humming away in your home, you’ll inevitably run into some issues. But fear not! This guide will help you troubleshoot some of the most common 3D printing problems so you can get back to creating those incredible designs.
1. Warping
Warping is a common complaint, especially when printing with materials like ABS. As the print cools, it can shrink and separate from the build plate. Here’s how to tackle this pesky problem:
- Use a Heated Bed: If your printer has this feature, use it! Keeping the bed warm can help maintain consistent temperatures that reduce warping.
- Brim or Raft: Adding a brim or raft can increase the surface area of your print, helping it stick better to the bed.
- Check Bed Leveling: Make sure your bed is perfectly leveled before starting a print. A disbalanced bed can lead to uneven cooling and warping.
2. Layer Separation
Nothing is more frustrating than watching your beautiful print crack apart layer by layer. This often occurs due to poor adhesion between layers, and here are a few pointers to prevent it:
- Adjust Your Nozzle Temperature: Sometimes, the solution is as simple as adjusting your nozzle temperature. Consult the filament manufacturer’s recommendations for optimal temperatures.
- Increase Print Speed: While it might sound counterintuitive, slowing down may allow layers to bond better. Experiment with different speeds to see what works best for your material.
- Check for Moisture: Filaments can absorb moisture from the air, which can lead to layer separation. Store your filaments in airtight containers with desiccants to keep them dry.
3. Stringing
If you notice tiny strands of filament connecting various parts of your print like spider webs, you’re dealing with stringing. This usually occurs when the nozzle oozes filament while moving between sections. Here’s how you can combat it:
- Temperature Adjustment: Lowering the temperature can reduce oozing. Again, refer to the filament guidelines to determine the right range.
- Retraction Settings: Increase the retraction distance or speed in your slicing software. This pulls the filament back into the nozzle during travel moves and can help minimize stringing.
- Travel Movements: Adjust the travel settings so the nozzle moves in a way that reduces the distance over open spaces.
4. Under-Extrusion
If your prints look like they skipped leg day—thin, fragile, and lacking detail—you may be experiencing under-extrusion. Here’s what to check:
- Filament Diameter: Ensure the filament diameter in your slicing software is set exactly to your filament type (typically 1.75mm or 2.85mm). Even a minor discrepancy can cause issues.
- Nozzle Clogs: A clogged nozzle can impede filament flow, so check for blockages. Cleaning the nozzle with a cold pull method can help get rid of any stubborn clogs.
- Flow Rate Settings: Sometimes, adjusting the flow rate in your slicing software can correct under-extrusion. Increase the flow rate a few percent and see if that improves your results.
5. Over-Extrusion
On the flip side, over-extrusion is characterized by excessive filament output, resulting in blobs and stringy prints. Here’s how to fine-tune your settings:
- Check Flow Rate: Similar to under-extrusion, adjusting the flow rate downward may solve the problem. Fine-tuning can make a significant difference.
- Retraction Settings: Sometimes, tweaking retraction distance and speed may help alleviate issues associated with excess material.
- Calibration Cube: Printing a small calibration cube can help you identify and adjust over-extrusion. Look for easy-to-spot signs and refine your setup accordingly.
Wrapping It All Up
While 3D printing can feel like a magical process, it comes with its fair share of challenges. Understanding how to troubleshoot common problems like warping, stringing, and under- or over-extrusion empowers you to make adjustments and learn from each print. Every hiccup in your journey is a learning experience, leading you closer to mastering this fascinating technology. So, the next time you face a 3D printing crisis, remember that persistence and a little bit of tinkering often lead to great rewards! Keep experimenting, stay curious, and happy printing!