A Beginner’s Guide to Setting Up a Bambu Lab 3D Printer
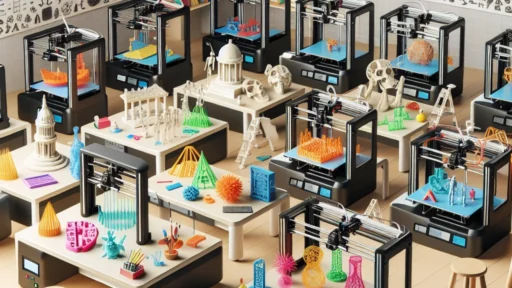
Hey there, fellow makers! If you’re reading this, you’re probably considering diving into the wonderful world of 3D printing or you’ve already taken the plunge with a shiny new Bambu Lab 3D printer. Congratulations! You’re about to unleash your creativity and bring your wildest designs to life. But before you start printing those fantastic ideas, let’s walk through the essential steps to set up your Bambu Lab 3D printer for the first time.
Unboxing Your Printer
First things first! When your Bambu Lab printer arrives, take a deep breath and carefully unbox it. Remember to keep everything organized as you go; those manuals and cords can easily hide away in all the excitement, and trust me, you’ll want them later. Lay out all the components to make certain that everything is included. It usually comes with the printer unit, power supply, filament, a few tools, and of course, the instruction manual.
Assemble the Printer
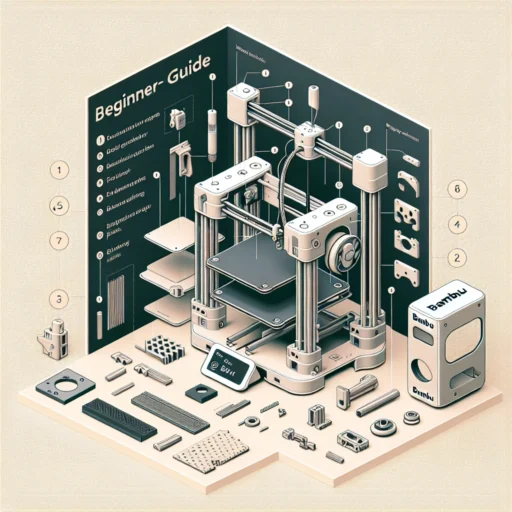
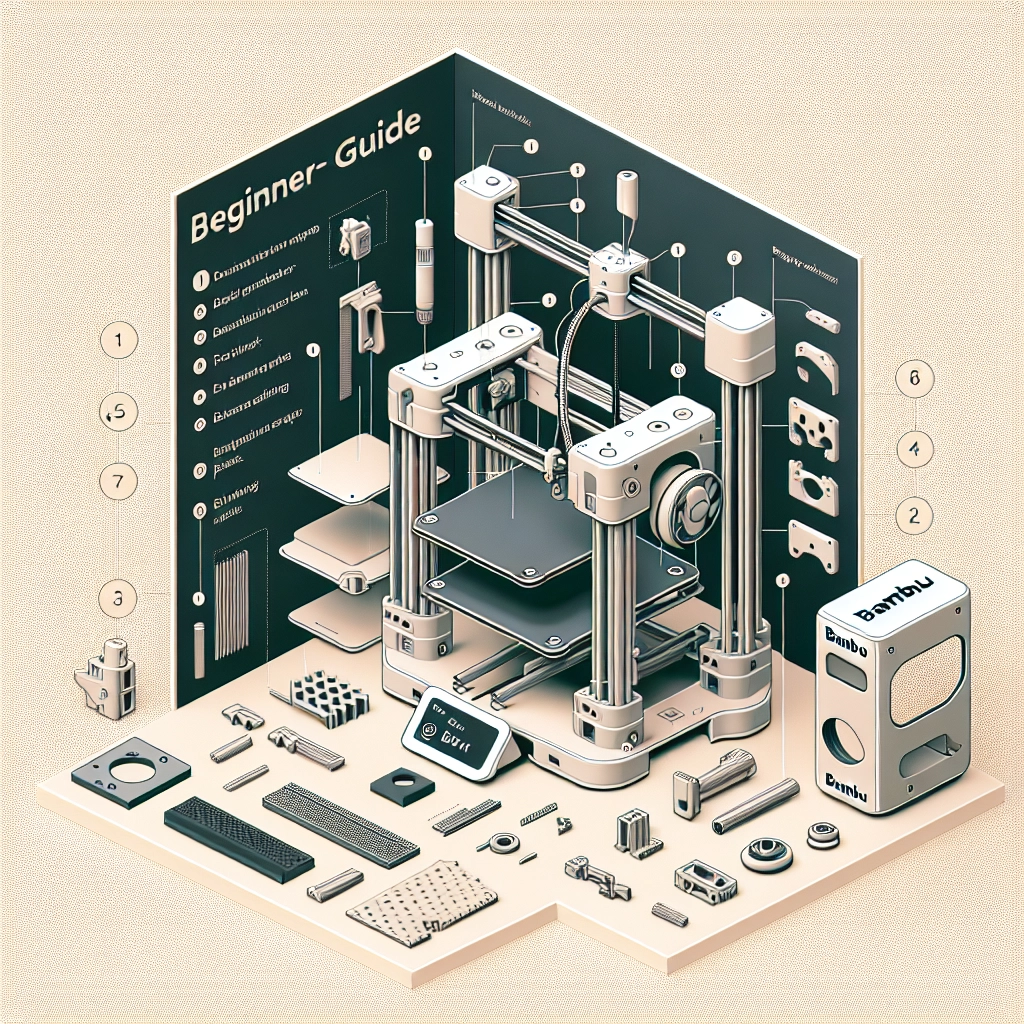
Depending on the model you’ve chosen, the assembly process may vary. Most Bambu Lab printers are user-friendly and require minimal setup. Here’s a quick rundown:
- Base setup: Start by attaching the base to the printer frame, securing everything as instructed in the manual. Don’t rush this part! It’s critical for stability when printing.
- Install the print head and build plate: These parts need to align properly to ensure high-quality prints. Take your time here and follow the visual cues provided in the guide.
- Power up: Once everything is secured, plug your printer into a reliable power source. Make sure you’re in a well-ventilated area as the printers can emit some heat during operation.
Explore the Software
Next up is software setup. The Bambu Lab printers usually come with an easy-to-use slicing software, often known as Bambu Studio. Download and install this software on your computer if you haven’t done so already.
Here’s how to get started:
- Set up your printer profile: Open Bambu Studio and select your printer model from the list. This will ensure that all your settings are optimized for the specific capabilities of your printer.
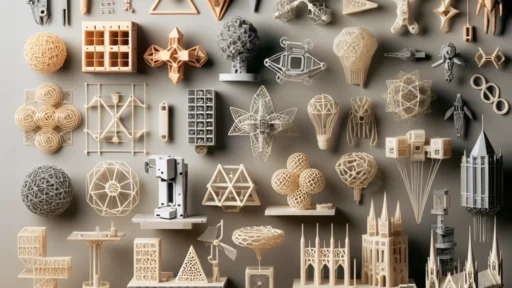
- Import your 3D model: You can either create your own designs with CAD software or download files from sites like Thingiverse or MyMiniFactory. Just be sure you have the right format—most 3D models come as .STL or .OBJ files.
- Slice your model: Slicing is the process of converting your 3D model into instructions your printer can understand. Adjust the settings like layer height and print speed based on your project needs. You’ll notice there are recommended settings which are perfect for beginners.
Loading Filament
Now it’s time to get down to the nitty-gritty of 3D printing—filament loading! Bambu Lab printers typically accommodate various filament types, so you should be good for a range of projects. Here’s how to do it:
- Choose your filament: Popular choices include PLA for beginner projects and PETG for slightly more advanced prints.
- Load the filament: Feed your filament into the designated entry point (check your manual for specifics) until it reaches the extruder. Most printers have a handy guide to make this a breeze.
- Preheat the nozzle: Make sure to preheat your nozzle to the right temperature for the filament type (again, your manual will be your best friend here).
Calibration
Before you fire up that first print, it’s essential to calibrate your printer to ensure excellent first-layer adhesion and print quality. This usually involves leveling the print bed and adjusting the nozzle height. Most Bambu Lab printers have an automatic bed leveling feature, making this step easier than ever. Just follow the on-screen prompts, and you’ll be good to go!
Dropping the First Print
With everything in place, you’re ready for your maiden print! Send your sliced model to the printer using Bambu Studio, and watch as your creation slowly becomes reality. It’s thrilling to see the build plate come to life, layer by layer!
Don’t forget to keep an eye on the first few layers. If you see issues like warping or peeling, you can always pause the print and make adjustments.
Troubleshooting
If things don’t go as planned, don’t panic! It’s a part of the learning experience. Most issues can be resolved with simple tweaks, like adjusting the printer settings or recalibrating the build plate. There’s also an active online community where you can find solutions and share your experiences with other Bambu Lab enthusiasts.
Becoming a skilled 3D printer takes time and patience, but every project will teach you something new. Before you know it, you’ll be churning out intricate designs and innovative projects with your new Bambu Lab 3D printer. Embrace the learning curve and enjoy the process of bringing your creativity to life! Happy printing!