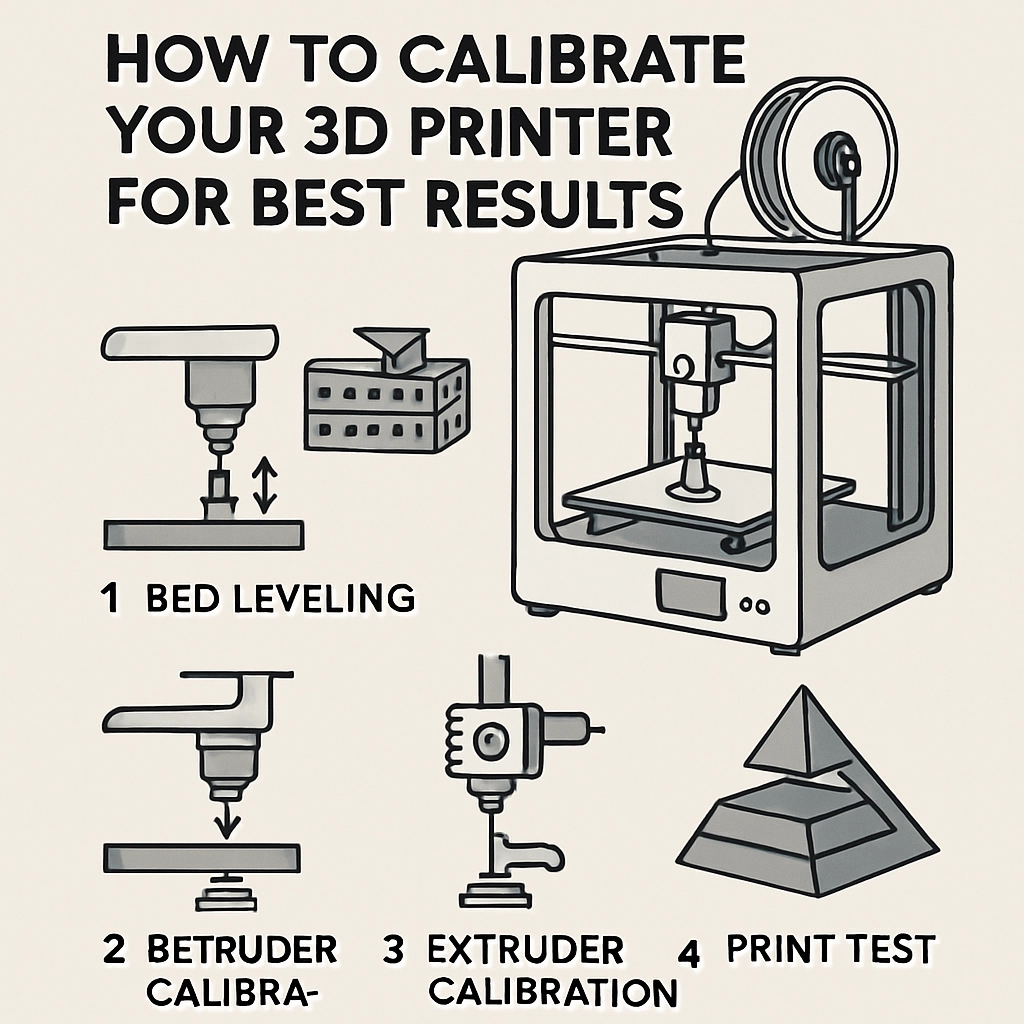
How to Calibrate Your 3D Printer for Best Results
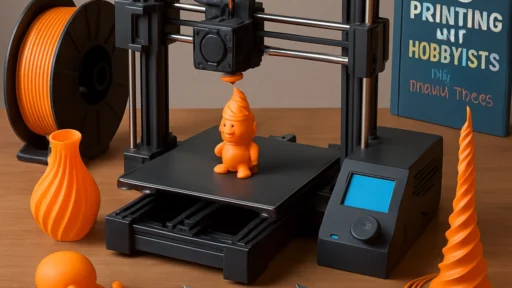
3D printing has taken the world by storm, opening up a world of creativity where the only limit is your imagination. But let’s face it: getting the perfect print can sometimes feel like trying to tune a vintage radio—frustrating and just slightly out of reach. Fear not! When it comes to 3D printing, calibration is key, and with a few simple steps, you can transform those wistful designs into tangible masterpieces. Let’s dive into how to calibrate your 3D printer for the best results.
Why Calibration Matters
Before we get into the nitty-gritty, let’s talk about why calibration is essential. When your printer is precisely calibrated, it ensures that each part of your printing process—extrusion, bed leveling, temperature settings—is fine-tuned to achieve high-quality prints. Properly calibrated machines can save you time, materials, and a whole lot of heartache from failed prints or warped designs. Plus, who doesn’t want to see that perfect ‘first layer’ go down smoothly?
Start with Bed Leveling
This is where the magic really begins. One of the most common issues with 3D printers is an unlevel bed. If your print bed isn’t level, you may experience poor adhesion, uneven layers, or even failed prints.
- Home Your Printer: Start by homing all axes.
- Paper Test: Take a piece of regular printer paper (with a standard thickness) and slide it between the nozzle and the bed at each corner of the build platform. Adjust the bed height so that the nozzle just barely grips the paper.
- Center Check: Don’t forget to check the center of the bed as well – sometimes the corners can be spot-on while the center is a whole different game!
Fine-Tune Your Extruder
Next up is the extruder, which plays a crucial role in delivering the filament to your hot end. It’s essential to calibrate it for the correct flow rate.
- Mark the Filament: Measure 100mm of filament from the entry point of your extruder, and make a clear mark.
- Extrude 100mm: Command your printer to extrude 100mm of filament.
- Measure Again: After extrusion, measure how much filament is left. If you didn’t end up with the original 100mm, you’ll need to adjust the steps per mm in your firmware settings.
For example, if you extruded only 90mm, that means your extruder isn’t pushing enough filament. If you got 110mm, then it’s over-extruding. Adjust the steps per mm accordingly based on this ratio.
Temperature Calibration
Finding the right temperature for your filament type is crucial. When the temperature is off, it could lead to poor adhesion or stringing.
- Test Prints: Create a temperature tower or use a pre-made design to test various temperatures for your specific filament.
- Check the Results: Look for the best visual quality and strength. Note the temperature and the type of filament—each brand can behave differently.
Fine-Tuning Print Speed and Layer Height
Next, let’s look at print speed and layer height.
- Start with Slower Speeds: If you’re new to 3D printing, begin with a slower print speed. As you gain expertise or depending on your printer model, you can gradually increase.
- Layer Height: Most prints will look great between 0.1mm to 0.3mm. Generally, the lower the layer height, the more detail you’ll capture, but keep in mind it will also take longer.
Find a balance that works best for your projects while keeping quality, detail, and time in mind.
Regular Maintenance
Lastly, remember that calibration isn’t a one-and-done sort of thing. Regular maintenance and checks will ensure your printer stays in tip-top shape. Dust off the build plate, lubricate the rails, and keep an eye on the nozzle for clogs. Frequent maintenance can help preclude future headaches.
In Conclusion
Calibrating your 3D printer may seem like a daunting prospect, but with these straightforward steps, you’ll soon be cranking out excellent prints. Look at calibration as a blend of science and artistry, where each adjustment brings you closer to your perfect creation. Happy printing! If everything aligns—quite literally—you’ll not only enjoy the process more but also the magnificent results that spring forth from your imagination. So, roll up those sleeves, and let your creativity soar!