Understanding the Calibration Process for 3D Printers
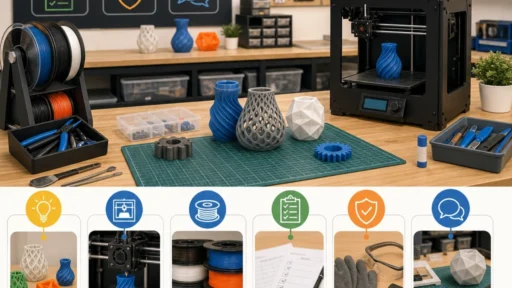
If you’ve recently jumped into the world of 3D printing, you might be feeling a mix of excitement and a bit of confusion about getting everything set up just right. One of the most critical steps to ensure your 3D printer delivers solid results is calibration. But what exactly is calibration, and why is it so essential? Let’s dive into the calibration process and how it can transform your 3D printing experience.
What is Calibration?
At its core, calibration is about fine-tuning your 3D printer to ensure it performs optimally. Think of it as adjusting the settings to match the specific capabilities of your machine and the materials you’re using. Whether you’re tweaking the bed leveling, adjusting the extruder settings, or tuning the temperature, calibration is all about making sure your printer can produce consistent and high-quality prints.
Why Calibration Matters
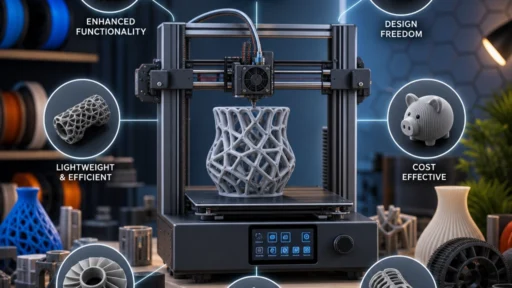
Imagine putting in hours of work designing an incredible object, only to see it come out all mangled or entirely misshapen. That’s where calibration saves the day. Properly calibrated printers minimize issues like poor adhesion, stringing, warping, and layer misalignment. Getting those first prints just right can save you both filament and time—and who doesn’t want that?
The Calibration Process
Now, let’s break down some of the key steps involved in the calibration process. While the specifics can vary depending on your printer model, these general tips apply across the board.
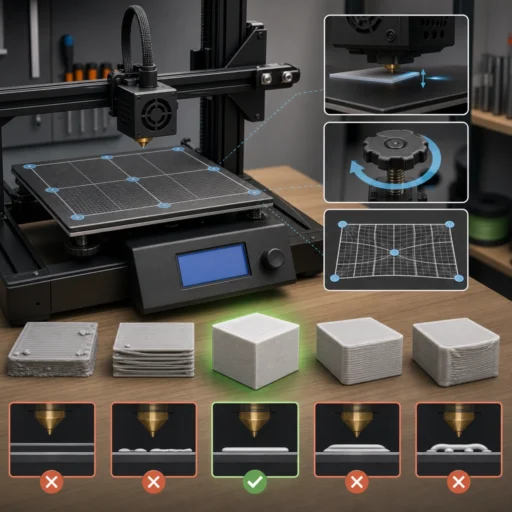
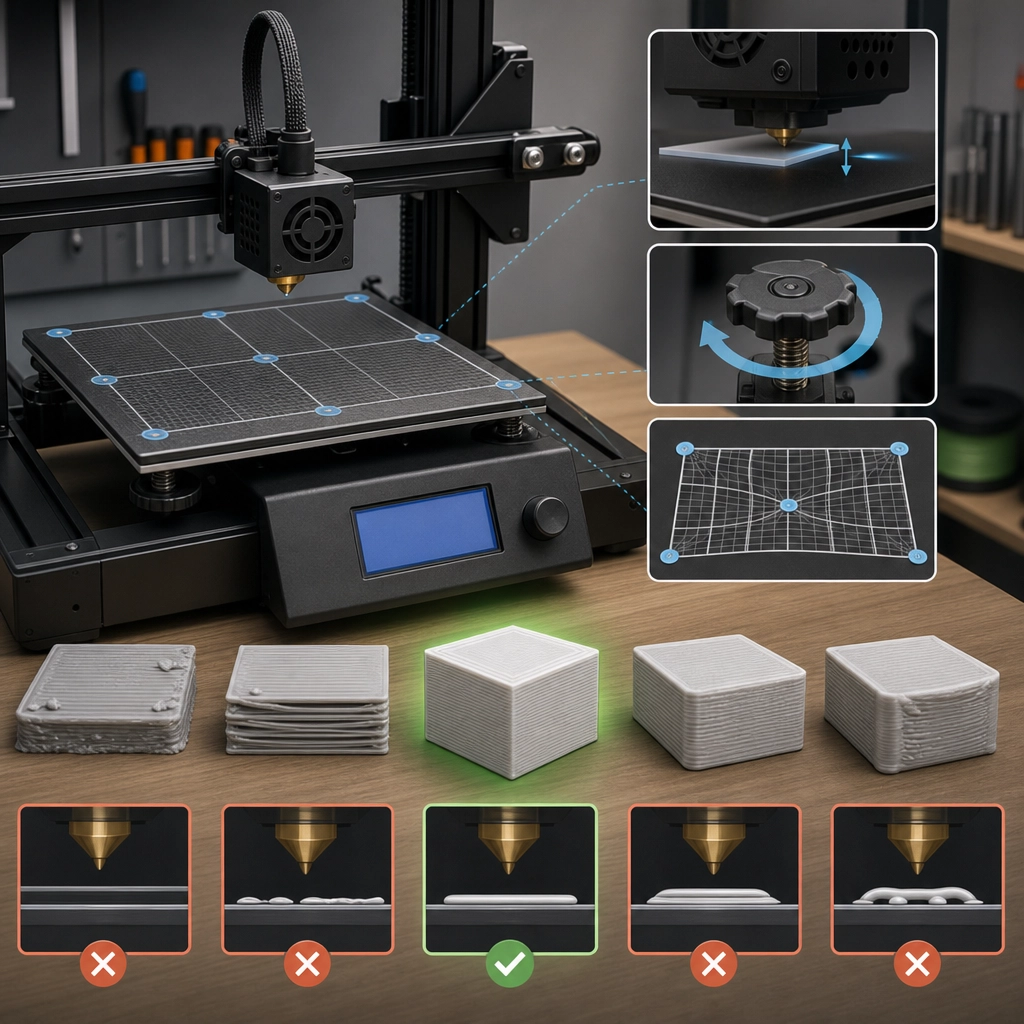
1. Bed Leveling
First and foremost, you need to get your print bed level. Many printers have an auto-bed leveling feature, which can make this process easier, but manual leveling is still common. Start by moving the print head to various corners and the center of the bed, adjusting the knobs or screws until there’s a consistent distance between the nozzle and the bed—ideally a paper’s thickness. A properly leveled bed helps ensure that your first layer sticks well and sets the stage for a successful print.
2. Nozzle Height Adjustment
Next up is the nozzle height. This involves ensuring that when the printer starts the first layer, the nozzle is at just the right distance from the print bed. Too far, and the plastic won’t adhere properly; too close, and you might end up clogging the nozzle. Many users find it helpful to print a test pattern, observing how the first layer adheres and making adjustments based on what they see.
3. Extruder Calibration
Extruder calibration ensures that your printer is feeding the correct amount of filament to create precise objects. A good rule of thumb is to measure a specific length of filament, feed it into the extruder, and see how much actually gets pushed through. If there’s a discrepancy, you’ll need to adjust the extruder steps per millimeter settings in your printer’s firmware. It sounds complicated, but once you get the hang of it, it’s quite straightforward—and the results will be worth it!
4. Temperature Tuning
Different filaments require different temperatures to print correctly, and even the same filament can behave differently in various environments. Baseline temperatures for filaments such as PLA or ABS can get you started, but don’t be surprised if you need to fine-tune the temperature. A good practice is to run a temperature tower print to visualize which temperatures yield the best results for your specific filament brand.
5. Print Speed and Flow Rate
Lastly, don’t forget about print speed and flow rate. These settings can significantly influence the quality of your prints. Slower speeds generally lead to more detailed and better-quality prints, while faster speeds can reduce print time, albeit sometimes at the cost of quality. Again, it’s all about fine-tuning based on your specific printer and the desired outcome.
Putting It All Together
After going through the calibration steps, you’re ready to unleash your creativity and start printing! Just remember, calibration is not a one-time task. As you change materials or your printer environment, you’ll likely need to recalibrate to maintain quality. Don’t shy away from troubleshooting, either; the journey is part of the fun.
Embrace the learning curve, experiment with different settings, and enjoy the thrill of seeing your designs come to life. With patience and practice, you’ll master the art of 3D printer calibration, paving the way for endless creative possibilities!